 ultimate-guide
Beginner Camping Meal Planning Guide for Easy Trips
Table of Contents
- Start With a Simple Camping Meal Planning Framework
- Your Camping Kitchen Essentials List for First-Timers
- How to Pack a Cooler for Camping So Food Stays Fresh
- Easy Camping Meal Ideas for Breakfast, Lunch, and Dinner
- Camping Food Safety and Smart Storage Rules
- Prep Ahead and Pack Smart for Less Stress
- Conclusion: Your First Camping Menu Plan Comes Together
- Frequently Asked Questions
Last Updated: September 9, 2026
Planning meals for your first camping trip often feels more stressful than the hike itself. A beginner camping meal planning guide should remove guesswork, not add another chore. The campers who enjoy their trips most are rarely the ones with the fanciest gear, they are the ones who showed up with a simple menu, food that stays cold, and a plan that takes less than an hour to execute.
Camping meal planning is mapping out every meal and snack before you leave home, then organizing them so they cook quickly and stay safe outdoors. The goal is to spend your time around the fire relaxing, not chopping vegetables or scrubbing pans. Below is a framework that works for weekend trips and week-long expeditions alike.
Start With a Simple Camping Meal Planning Framework
The easiest way to plan camp meals is to count your trip meals first, then assign one cooking method to each. A typical weekend trip involves two breakfasts, two lunches, two dinners, and six snack periods. Write those down before you shop to avoid overpacking and the dreaded "what's for dinner" scramble at dusk.
Build your menu around a rotation of three cooking styles: no-cook, one-pot, and foil packet. No-cook covers breakfasts like yogurt with granola and lunches like wraps. One-pot meals handle dinners where you boil or simmer everything together. Foil packets are your wildcard for anything you want to roast directly in the coals.
The USDA's guidance on planning safe outdoor meals recommends matching your menu to your available refrigeration, which leads directly to the next question: what can you actually keep cold?
Your Camping Kitchen Essentials List for First-Timers
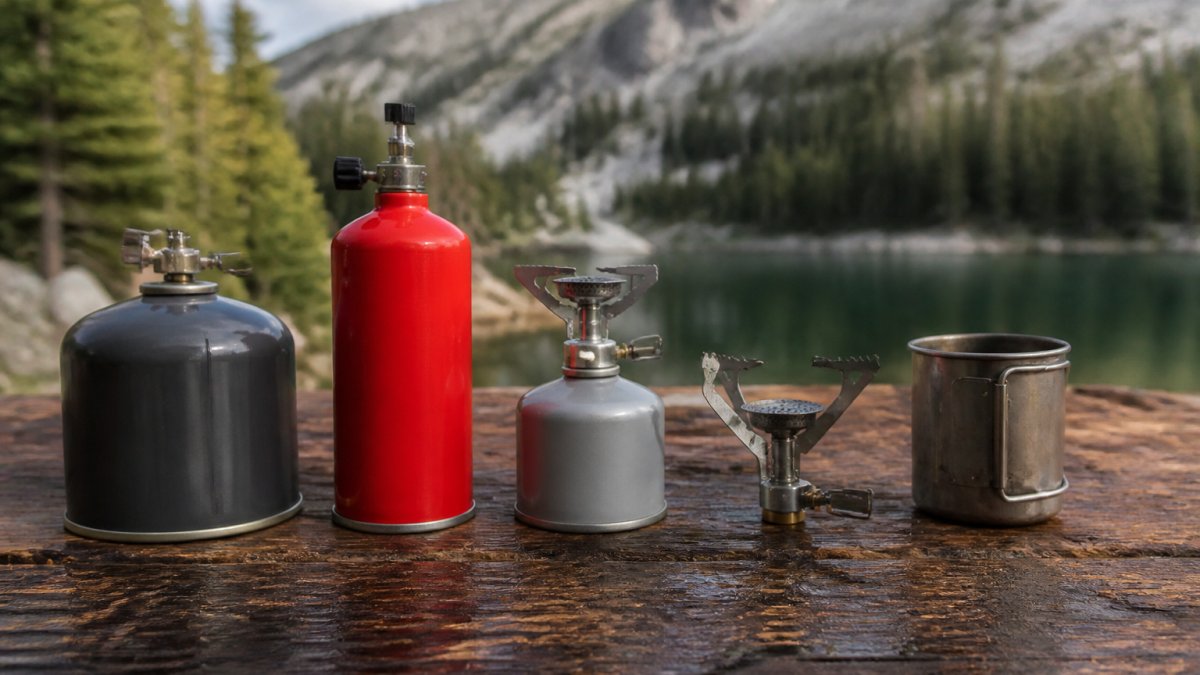
A common mistake is packing a full home kitchen. You need a fraction of that. The core list includes a portable stove, one pot, one pan, a spatula, a cutting board, a sharp knife, and a mug, plate, and utensil set per person. Add a lightweight kettle if you drink coffee or tea in the morning.
For cooking equipment, look for pieces that nest together. A 5-piece stainless steel cookware set with a non-stick pan handles most meals without taking up half your pack. A windproof stove with piezo ignition, like this portable five-head gas burner, saves you from fighting matches and gusts at mealtime.


Keep your camp kitchen in one dedicated tote. When everything lives in a single bin, setup takes five minutes and you never leave a utensil behind at the site.
How to Pack a Cooler for Camping So Food Stays Fresh
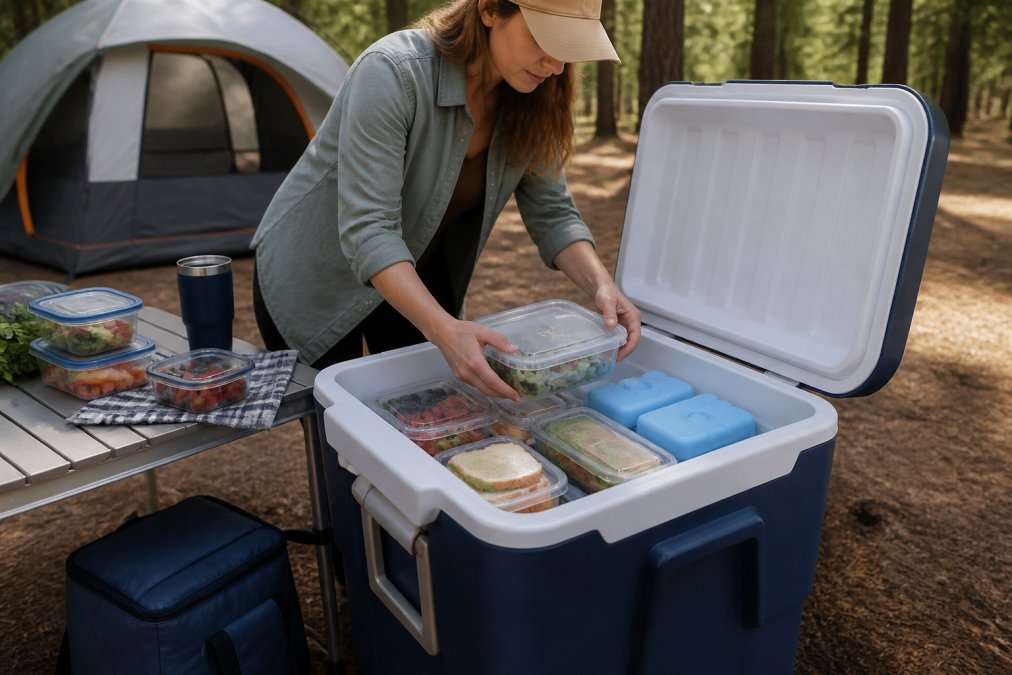
Proper cooler management is the difference between fresh tacos on night three and a sad, soggy sandwich situation. Most guides stop at 'pre-chill your cooler,' but the real win comes from understanding heat transfer and ice retention. Here’s the technical playbook.
The 2:1 Ice-to-Content Ratio: The most common mistake is packing too much food and not enough ice. For a multi-day trip, a 2:1 ratio of ice to food by volume is the baseline, enough thermal mass to absorb heat every time the lid opens. For two people for three days, you need roughly 10-15 pounds of ice or ice packs to maintain a safe 40°F internal temperature (usda.gov).
Block Ice vs. Cubed Ice: Cubed ice cools items quickly but melts fast. Block ice, made at home in a clean milk jug or large Tupperware, melts slower due to its lower surface area-to-volume ratio. For trips longer than 24 hours, use block ice as your primary coolant and reserve cubed ice for drinks. Freeze two or three gallon-sized jugs of water; they act as both ice packs and drinking water as they melt.
Dry Ice for Extended Trips: For trips beyond three days, dry ice is a game-changer. It sublimates at -109°F, keeping a cooler well below freezing. The trade-off is that it's dangerous to handle and can freeze your food solid if placed directly on it. Layer it at the bottom of the cooler, separated from your food by a piece of cardboard or a towel. Never seal a cooler with dry ice airtight; the pressure from sublimation can cause the lid to bulge or crack. Also, check with your campsite or park office, many prohibit dry ice in communal dumpsters.
The 'Two-Zone' Cooler Strategy: Use two coolers if you can. The 'food cooler' should be opened only for meal prep, while a separate, cheaper 'drink cooler' holds beverages and gets opened constantly. Every time you open the lid, you exchange cold air for warm, humid air. A drink cooler opened 20 times a day will drain the cold from your food cooler if they're combined. This single change can extend your food's safe life by a full day.
Organize by Meal, Not by Food Group: Forget packing all your meats together. Instead, pack a 'Day 1 Dinner' bin and a 'Day 2 Breakfast' bin. This forces you to open the cooler only when you need that specific meal and prevents digging through the entire cooler to find the sausage. Use clear, sealable bins.
The 'Coldest Zone' Rule: Cold air sinks, so the bottom of the cooler is the coldest area, that's where your most perishable proteins go. Place block ice at the very bottom, then raw meats in sealed containers, then ice packs, then pre-cooked meals and dairy, and finally produce and snacks on top. This vertical layering keeps your riskiest items at a safe temperature even if the top layer warms up.
The 'Pre-Chill' Non-Negotiable: A cooler is an insulated box, not a refrigerator. If you put warm cans and room-temperature chicken into it, the ice has to cool those items down first, melting rapidly. Chill all food and drinks to 40°F or below in your home fridge for at least 12 hours before loading. This is the single most effective thing you can do to extend ice life.
Location and Management: Keep the cooler in the shade, and in direct sun, throw a reflective emergency blanket over it. Elevate it off the hot ground on a log or camp table to allow air circulation underneath. When you drain melted water, do it quickly, the cold water helps keep the remaining ice cold, so don't dump it all out unless you need the space.
Easy Camping Meal Ideas for Breakfast, Lunch, and Dinner
The best easy camping meal ideas follow one rule: minimal dishes, maximum flavor. But for a day of hiking, paddling, or exploring, 'easy' isn't enough, you need fuel. Experienced campers plan for roughly 3,000 to 4,000 calories per day for moderate activity, with a focus on macronutrient balance to sustain energy.
The Macro Blueprint for Active Days: Forget the standard home plate. On the trail, you need a higher ratio of complex carbohydrates and healthy fats for sustained energy, plus protein for muscle repair. Aim for 50% carbohydrates, 25% protein, and 25% fat. This isn't a strict diet; it's a guide to prevent the 'bonk', that sudden energy crash from running on empty.
No-Fuss Breakfasts to Start Your Day
Breakfast is your first fuel stop. The goal is to get complex carbs and protein in before you hit the trail.
- The 'Trail Mix Oats' Upgrade: Instant oatmeal is a classic, but it's mostly simple carbs. To fix that, stir in a scoop of whey or plant-based protein powder, a tablespoon of chia seeds, and a handful of walnuts. This adds ~15g of protein and healthy fats, turning a sugar spike into a steady energy release. Just add boiling water and stir.
- Pre-Made Breakfast Burritos (The 600-Calorie Start): Scramble 6 eggs with black beans, cheese, and pre-cooked breakfast sausage at home. Wrap them in large tortillas, then wrap each in foil. At camp, they reheat in a skillet over medium heat for 5 minutes per side. This delivers a balanced mix of protein, fat, and carbs that will carry you through a morning hike.
- The 'No-Cook' Power Bowl: For zero-cook mornings, layer Greek yogurt (which stays cold in a well-managed cooler), with pre-portioned granola, and a packet of nut butter. This is a high-protein, high-fat breakfast that requires no stove and no cleanup.
Simple Lunches That Skip the Cleanup
Lunch is where most campers overthink things. The key is to avoid the mid-day energy crash by including protein and healthy fats, not just bread and deli meat.
- The 'Pouch Protein' Wrap: Tortilla wraps with pre-cooked chicken or tuna pouches are a staple. But to make it a performance meal, add a packet of olive oil or a slice of cheese for fat, and a handful of pre-washed spinach for micronutrients. This isn't just a sandwich; it's a portable, balanced meal.
- The 'Hummus & Veggie' Pita: For a vegetarian option, pack individual hummus cups and pre-sliced bell peppers and cucumbers. The fiber and plant-based protein from the chickpeas provide a slow-release energy source, avoiding the 2 PM slump.
- The 'GORP' (Good Old Raisins and Peanuts) Principle: Don't just pack snacks; pack a 'trail mix station' with separate bags of nuts, dried fruit, and dark chocolate. This lets you customize your energy intake on the fly. A handful of almonds and dried cherries provides complex carbs and healthy fats, more effective than a candy bar for sustained energy.
One-Pot Dinners for Easy Camp Cooking
One-pot meals are the backbone of camp dinners because they combine protein, carbs, and vegetables in a single cooking vessel. But the best ones are engineered for recovery after a long day.
- The 'Carb-Load' Pasta: Pasta with jarred sauce and pre-cooked sausage is easy. To make it a recovery meal, use whole-wheat pasta for complex carbs, and add a can of cannellini beans for extra protein and fiber. The combination of carbs and protein helps replenish glycogen stores and repair muscle tissue.
- The 'Backcountry Chili': Chili is a classic, but a high-exertion version uses lean ground turkey or bison instead of beef to reduce saturated fat, and adds a can of sweet potatoes for a dose of vitamin A and complex carbs. This is a nutrient-dense meal that's easy to digest after a hard day.
- The 'Instant' Rice Bowl: Instead of traditional rice, use instant rice (which cooks in 5 minutes) and pair it with a pouch of pre-cooked salmon or chicken. Add a packet of olive oil and a squeeze of lemon for healthy fats and flavor. This is a 10-minute meal that delivers a balanced macro profile.
The 'Snack Strategy' for the Trail: Don't wait for mealtimes. Plan for a 'trail snack' every 60-90 minutes of activity. A mix of jerky (protein), dried mango (carbs), and cashews (fats) keeps your blood sugar stable and prevents overeating at dinner.
Camping Food Safety and Smart Storage Rules
Food safety on a camping trip comes down to three rules: keep cold food below 40°F, keep raw meat separate, and wash your hands or use sanitizer before handling anything you will eat. Without a refrigerator, your cooler is your only line of defense, so monitor ice levels and know when to let perishables go.
Dry goods are more forgiving but still need protection. Store everything in sealed bins or bear-resistant containers, especially in areas where wildlife is active. Keep your cooking area at least 200 feet from your sleeping area, and never leave food out overnight. The National Park Service's food storage safety guidelines outline specific requirements for different parks, so check your destination's rules before you go.
Portion control also matters for safety. Pre-portioning meals at home means you cook only what you will eat, which reduces both waste and the risk of leftovers sitting out too long.
Prep Ahead and Pack Smart for Less Stress
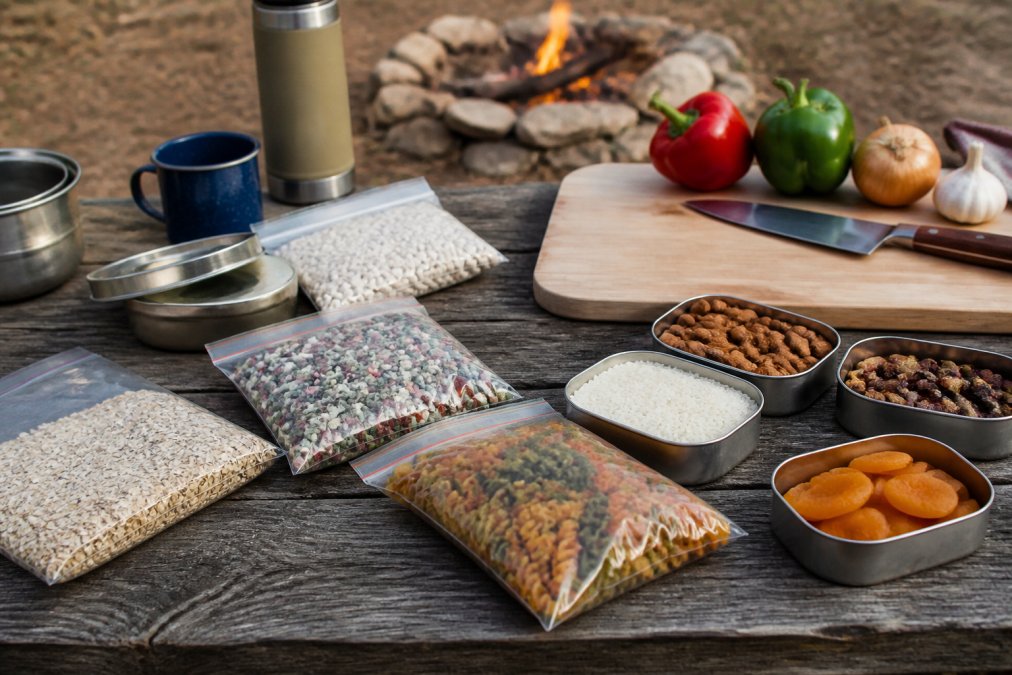
Pre-trip preparation is where you win or lose your camping cooking experience. Spend one hour at home chopping vegetables, marinating proteins, and pre-cooking rice or pasta. Store each meal in a labeled bag or container, and campsite cooking becomes assembly rather than preparation.
Batch cooking works especially well. Cook a large pot of chili or stew at home, cool it properly, and freeze it in meal-sized portions. These frozen blocks double as cooler ice packs and simply need reheating at camp. This approach also reduces trash output and supports low-waste camping.
Create a camping pantry of shelf-stable basics: oil, salt, pepper, hot sauce, and a spice blend. These small items elevate every meal and weigh almost nothing. Keep them in one small pouch so they never get lost in the bottom of your gear bin.
Conclusion: Your First Camping Menu Plan Comes Together
The challenge with camp cooking is not the cooking itself. It is the logistics of keeping food cold, cooking it safely, and cleaning up with limited water. A simple plan that covers every meal, a cooler packed with intention, and gear that actually performs will turn mealtime into a highlight rather than a source of stress.
GreatAdventureSupply carries the portable stoves, nesting cookware, and storage solutions that make outdoor cooking straightforward. Our gear is selected for real conditions. Browse our camping collection and get started with gear that lets you spend less time managing meals and more time enjoying the trail.
Frequently Asked Questions
What is a good 7-day camping meal plan?
A good 7-day plan mixes fresh and non-perishable foods. Use dairy, meat, and produce in the first 2-3 days while the cooler stays cold. Switch to canned goods, peanut butter, tortillas, and shelf-stable meals for later days. Plan one-pot dinners like chili or pasta to cut down on cookware and cleanup. Reuse ingredients, like making extra grilled chicken for lunch wraps the next day.
How do you keep food cold while camping without a fridge?
A high-quality cooler with proper packing is your fridge. Pre-chill everything to 40°F or below the night before. Use block ice or frozen water bottles, which last longer than cubes. Pack drinks in a separate cooler so the food cooler stays closed. Keep it in the shade and open it only when needed to maintain the internal temperature.
What is the easiest meal to cook while camping?
One-pot meals are the easiest because they require minimal equipment and cleanup. Options like chili, pasta with jarred sauce, or foil-packet vegetables and sausage cook in a single pot or over coals. These meals also use simple, shelf-stable ingredients that are easy to pack. A portable stove with steady flame control makes the process even more straightforward for beginners.
What are the best non-perishable foods for camping?
Focus on items that pack flat and resist heat: peanut butter, tortillas, canned beans and vegetables, shelf-stable pasta sauce, dried fruits, nuts, and instant oatmeal. Hard cheeses and cured meats last a few days in a cooler. These foods give you flexible meal options and serve as backup if your cooler ice melts faster than expected.