 listicle
Best Backcountry Camping Gear for Beginners
Table of Contents
- Essential Backcountry Camping Gear Categories
- Shelter Systems: Tents vs. Hammocks
- Sleeping Systems and Warmth Rating
- Water Filtration and Hydration Essentials
- Lightweight Backpacking Gear List for Multi-Day Trips
- How to Pack a Backpack for Backcountry Camping
- Backcountry Camping Safety Essentials and Navigation
- Gear Maintenance and Long-Term Value
Last Updated: August 8, 2026
Essential Backcountry Camping Gear Categories
Backcountry camping gear separates the unprepared from the equipped. The right setup transforms a multi-day expedition from survival mode into genuine enjoyment. Most beginners chase ultralight trends or buy whatever's on sale, then discover mid-trip that their tent leaks, their sleeping pad deflates, or their pack destroys their shoulders.
The core categories that matter are shelter, sleep system, water management, cooking, navigation, lighting, and safety. Each serves a non-negotiable function. Miss one, and your trip suffers. Skimp on quality, and you're gambling with comfort or safety.
At GreatAdventureSupply, we've curated collections specifically for this purpose: helping beginners assemble a backcountry camping gear setup that actually works in the field. The products we've selected prioritize reliability over hype, performance over price alone, and practicality over trends.
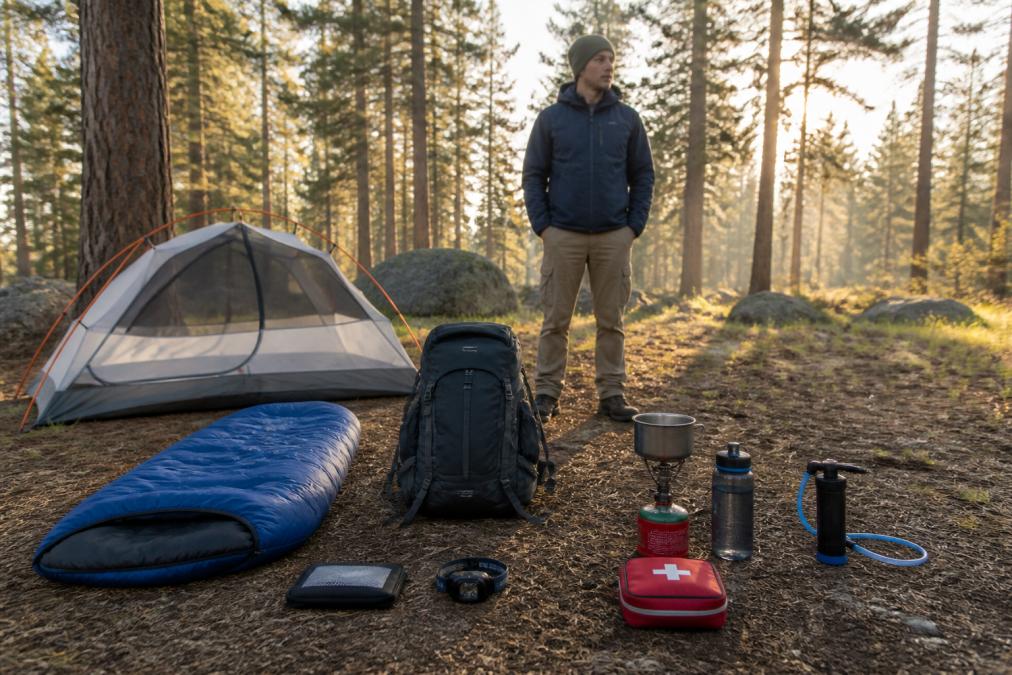
Think of your backcountry camping gear as a system. Each piece connects to the others. Your backpack capacity determines what shelter you can carry. Your sleeping pad's R-value (thermal rating) affects which sleeping bag you need. Your water filtration system influences how much water weight you carry. This interconnected reality is why buying random items from different retailers often leaves you with mismatched, incompatible gear.
Most beginners aim for a base weight under 20 pounds, the total weight of everything except food, water, and fuel. That's achievable with intentional choices across every category.
Shelter Systems: Tents vs. Hammocks
Your shelter is your fortress against weather, insects, and psychological stress. The two dominant options, tents and hammocks, serve different philosophies and terrain types.
Tents dominate backcountry use for beginners. They work in nearly every environment: rocky terrain where hammocks can't hang, exposed ridges, desert floors, and alpine zones. A freestanding tent requires no anchor points and sets up in minutes. The REI Co-op Half Dome SL 2+ Tent exemplifies the beginner-friendly approach: it offers generous interior space, two doors for easy exit, and includes a footprint that protects the floor. For three-season use (spring through fall), this tent handles variable conditions without excessive weight.
Hammocks appeal to ultralight enthusiasts and tree-rich environments. They suspend you above ground, offering ventilation and a unique experience. However, they demand technical knowledge. You need suitable trees spaced properly. Cold weather requires an underquilt (additional expense and weight). For beginners, hammocks introduce complexity that often isn't worth it until you've mastered tent camping fundamentals.
Start with a tent. Master the basics. If you later discover hammock camping aligns with your preferred terrain and style, transition then.
Sleeping Systems and Warmth Rating
Your sleeping system, pad plus bag, determines whether you sleep warm or spend the night shivering. Many beginners buy a sleeping bag rated for 20°F, then pair it with a thin foam pad, then camp in 40°F weather and wonder why they're cold. The pad matters as much as the bag.
Sleeping pads provide insulation between you and the cold ground. The metric that matters is R-value: higher R-value means better insulation. An R-value of 2-3 handles three-season use. For spring and fall camping, aim for R-4 or higher. The Therm-a-Rest NeoAir XLite NXT offers an R-value of 4.5, packs to the size of a water bottle, and weighs just 12 ounces.
Sleeping bags come in two insulation types: down and synthetic. Down compresses smaller, weighs less, and lasts longer, but loses all insulating value when wet. Synthetic insulation performs when damp and costs less, but it's bulkier and degrades faster. For beginners in dry seasons, down makes sense. For wet climates or budget-conscious setups, synthetic works fine.
Temperature ratings on sleeping bags are notoriously optimistic. A bag rated 20°F will keep you alive at 20°F, but you won't sleep comfortably. Subtract 10-15°F from the rating to find your actual comfort threshold.
Water Filtration and Hydration Essentials
Backcountry water sources are unpredictable. Streams that look pristine harbor giardia. Lakes near established campsites carry bacteria. You need a reliable water filtration system.
The Sawyer Squeeze Water Filter represents the gold standard for beginners. It removes 99.99999% of bacteria and 99.9999% of protozoa, the two main threats in North American backcountry. It weighs 3 ounces, costs under $50, and threads onto standard 28mm water bottles. You can use it as a squeeze filter, as an inline filter, or as a gravity system. The filter lasts up to 378,000 liters.
Hydration strategy varies by terrain. Desert trips require carrying more water because sources are sparse. Forest trips let you filter frequently and carry less. Choose based on your terrain and confidence level.
Lightweight Backpacking Gear List for Multi-Day Trips
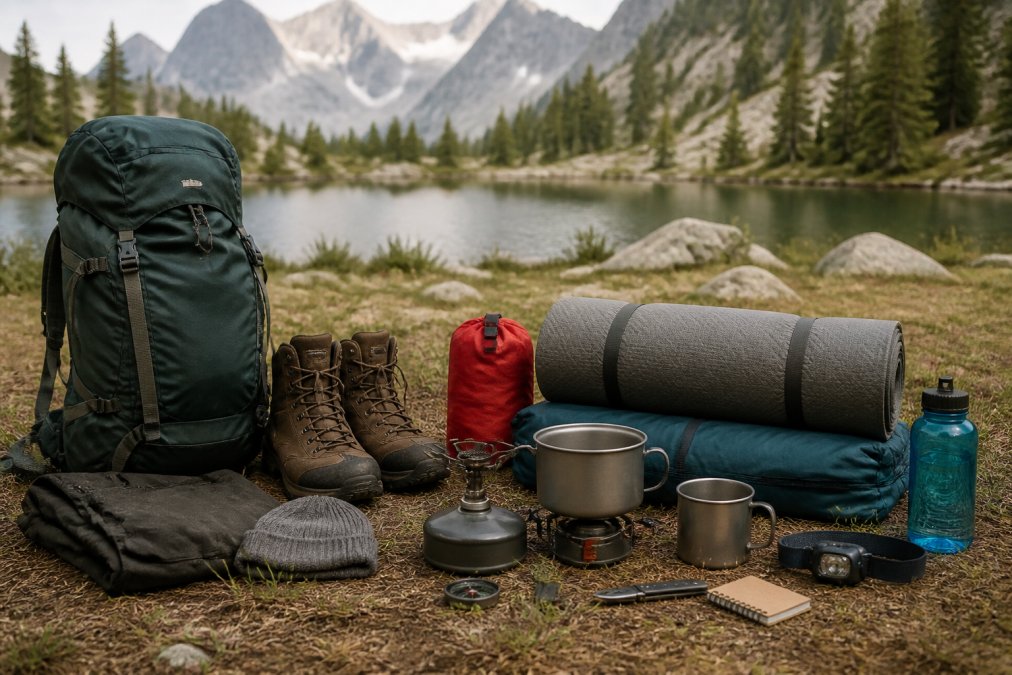
Here's a practical checklist of lightweight backcountry camping gear for a three-day trip. These items balance weight, reliability, and cost.
| Category | Item | Why It Matters | Weight |
|---|---|---|---|
| Shelter | Freestanding tent with footprint | No dependency on anchor points; protects floor | 3-4 lbs |
| Sleep System | Sleeping pad (R-4+) + bag | Insulation from ground and air | 2-3 lbs |
| Backpack | 65-liter pack | Carries 3-day load; distributes weight | 3-4 lbs |
| Water | Filter + two bottles | Reliable access to safe drinking water | 0.5 lbs |
| Cooking | Lightweight stove + pot + fuel | Boils water for meals and warmth | 1-2 lbs |
| Navigation | Map + compass (or GPS app) | Prevents getting lost; compass works without batteries | 0.2 lbs |
| Lighting | Headlamp + extra batteries | Hands-free light for camp tasks and emergencies | 0.5 lbs |
| Clothing | Layers (base, mid, outer) | Regulates temperature across weather changes | 2-3 lbs |
| First Aid | Compact kit | Treats minor injuries and blisters | 0.3 lbs |
| Total Base Weight | Everything except food, water, fuel | 13-20 lbs |
The Osprey Rook 65 Pack serves beginners well. It carries 65 liters (enough for three days), weighs under 4 pounds, and includes an integrated rain cover. The ventilated back panel reduces sweat. Hip belt pockets hold frequently accessed items.
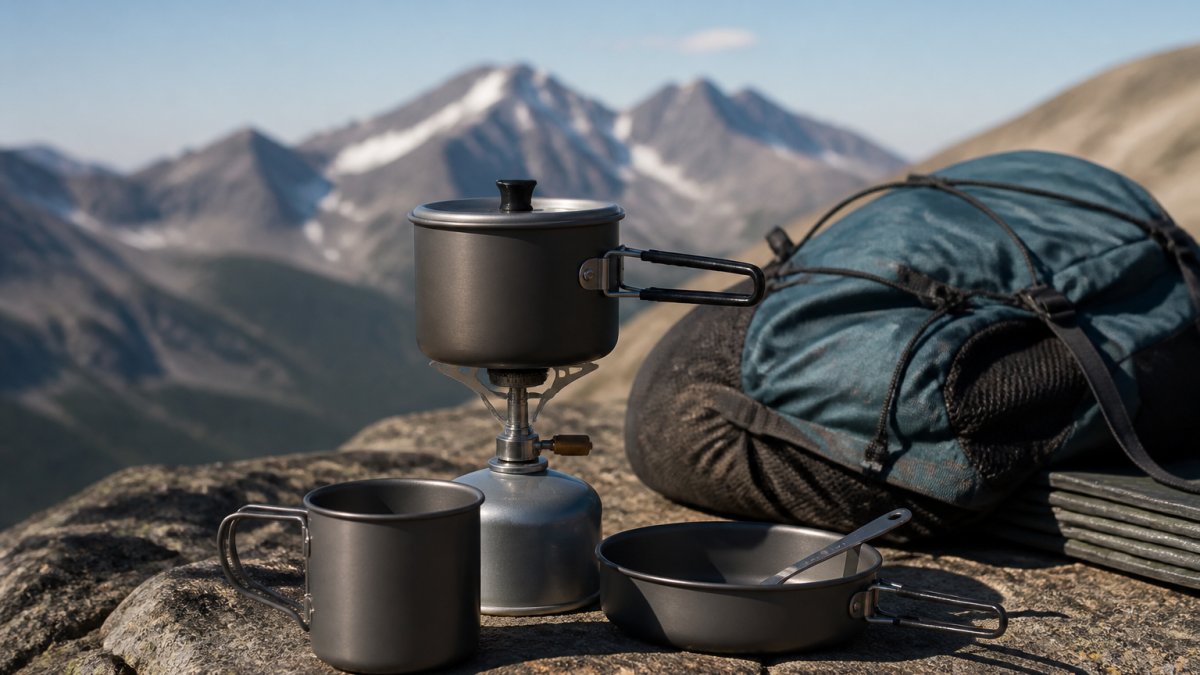
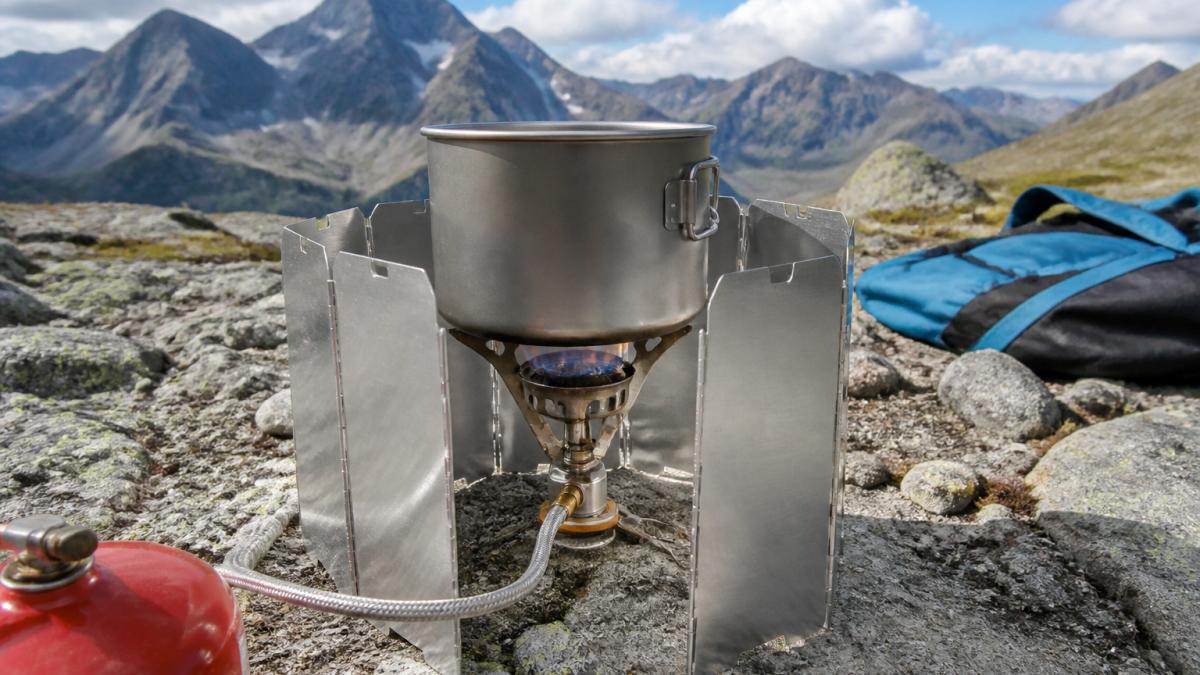
The MSR PocketRocket 2 Stove Kit bundles a stove, pot, mug, and bowl into 10 ounces. It boils water in 3.5 minutes. You'll use it daily to rehydrate meals and make hot drinks.
How to Pack a Backpack for Backcountry Camping
Packing order matters more than most beginners realize. A poorly packed pack shifts weight, strains your shoulders, and throws off your balance on steep terrain.
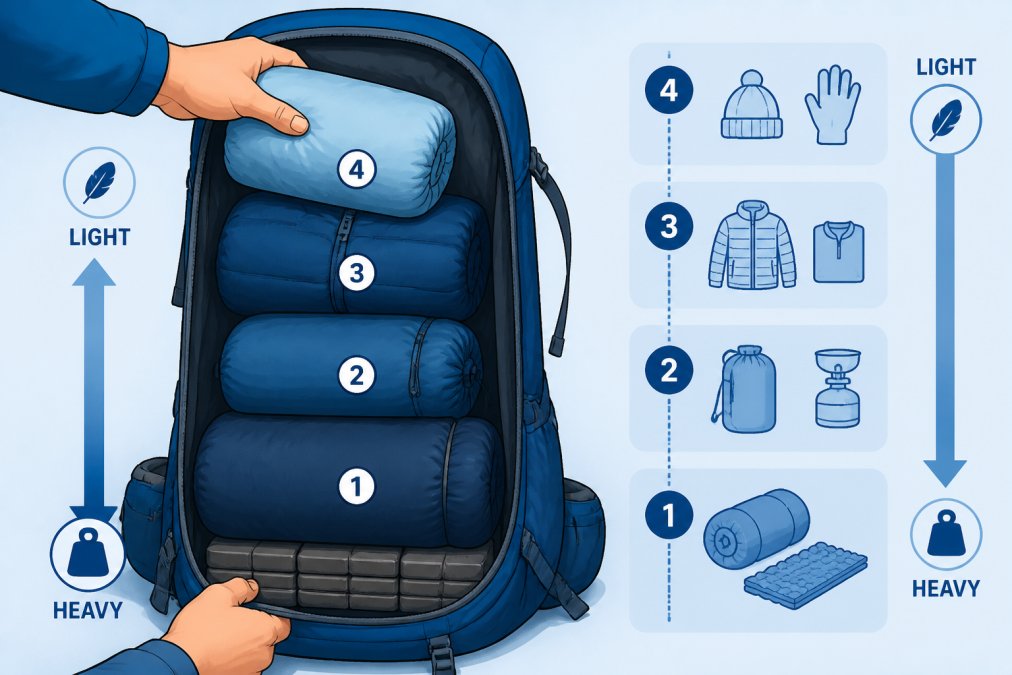
Step 1: Pack heaviest items low and centered. Your sleeping bag, pad, and stove fuel go in the bottom of the pack, centered against your back. This keeps the weight close to your body and low, reducing strain on your shoulders.
Step 2: Layer mid-weight items around the heavy core. Clothing, food, and water bottles fill the middle sections. Distribute weight evenly left and right.
Step 3: Keep frequently accessed items accessible. Your rain jacket, snacks, and map go in the top compartment or side pockets.
Step 4: Secure the pack properly. Tighten the hip belt first; it should carry 60-70% of the weight. Then tighten shoulder straps so the pack sits snug against your back. The load lifter straps should angle slightly downward.
Step 5: Test the weight distribution. Put on the pack and walk around. It should feel balanced, not tilting forward or backward. Adjust straps until the pack feels like a natural extension of your body.
A well-packed 20-pound base weight feels manageable. A poorly packed 15 pounds feels exhausting. Packing discipline transforms your entire experience.
Backcountry Camping Safety Essentials and Navigation
Safety in the backcountry starts with preparation, not luck. You need navigation tools, emergency communication, and first aid capability.
Navigation is the foundation. Carry a detailed topographic map and compass. Learn to use them before your trip. A GPS app on your smartphone works as a backup, but smartphones die. Maps and compasses don't. The Gaia GPS app ($39.99/year for premium) offers offline map downloads, route planning, and tracking.
Emergency communication depends on your trip's remoteness. For established trails with regular traffic, a whistle and first aid kit might suffice. For truly remote backcountry, the Garmin inReach Mini 2 provides two-way messaging and interactive SOS through satellite networks. It costs $339.99 plus monthly subscription fees (starting around $8/month).
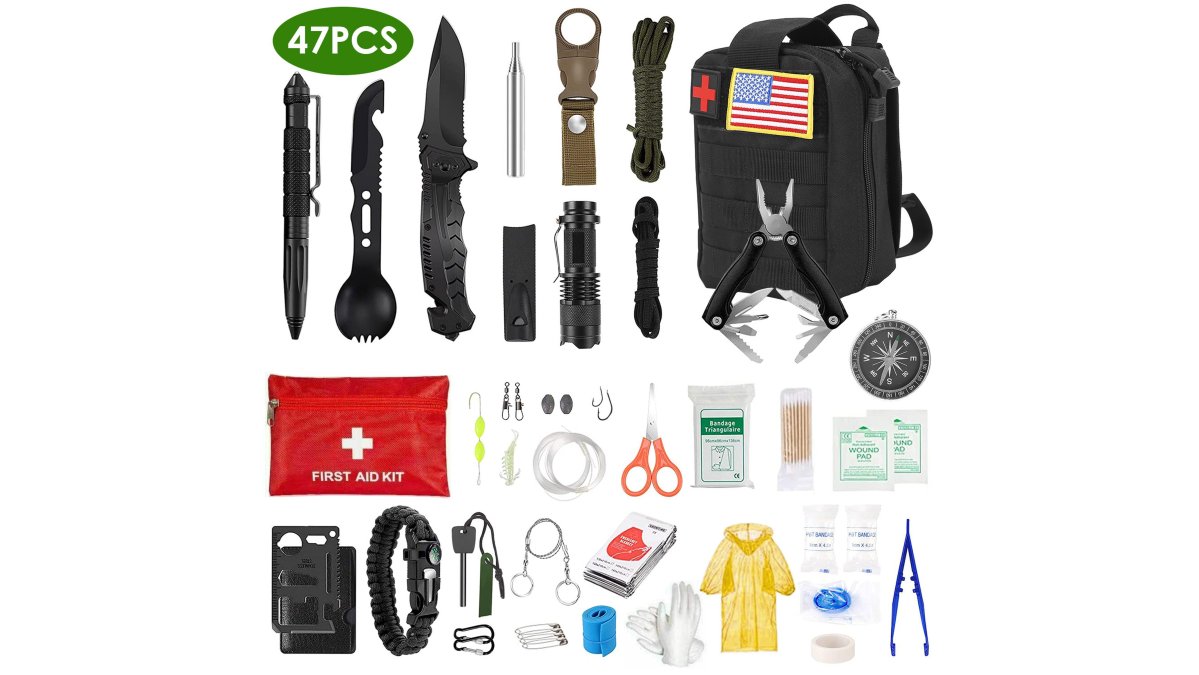
First aid means more than a band-aid collection. The Adventure Medical Kits Mountain Series Hiker includes moleskin (crucial for blister prevention), antiseptic wipes, pain relievers, and basic wound care. Blister prevention saves trips.
Gear Maintenance and Long-Term Value
Quality backcountry camping gear costs more upfront than discount alternatives. The payoff is longevity. A $350 tent used 20 times over five years costs $17.50 per trip. A $120 tent that fails after four trips costs $30 per trip. Maintenance determines which scenario unfolds.
Tent care extends life dramatically. After each trip, air out your tent completely before storing. Never pack it wet. Inspect seams and fabric for damage. Repair small holes immediately with a patch kit. Store in a cool, dry place, not a hot garage or damp basement.
Sleeping pad maintenance depends on type. Inflatable pads need careful handling. Avoid sharp objects. Repair punctures immediately. Store partially inflated to reduce stress on seams. Foam pads need protection from UV and moisture.
Backpack care is straightforward. Brush out dirt after each trip. Wipe straps and hip belt. Store empty and dry. Check zippers and stitching for damage.
Stove and cooking gear should be cleaned and dried after use. Fuel canisters should be stored in cool, well-ventilated areas.
Spend 15 minutes after each trip caring for your equipment. It compounds into years of reliable performance.
Backcountry camping gear for beginners doesn't require buying the most expensive options or chasing ultralight trends. It requires understanding what each piece does, why it matters, and how it connects to the others. Start with a reliable tent, sleeping system, backpack, and water filter. Add navigation tools and first aid.
GreatAdventureSupply simplifies this process by curating collections of proven, field-tested gear in one place. Instead of hunting across dozens of retailers, you'll find shelter systems that work, sleeping pads with real R-values, cooking kits that don't fail, and navigation tools that function when it matters. Our selection prioritizes reliability and real-world performance, making your trips safer and more enjoyable. Build your backcountry setup with confidence, add your gear to cart at GreatAdventureSupply and start planning your next expedition.
Frequently Asked Questions
What are the must-haves for backcountry camping?
The essentials include a freestanding tent with footprint, sleeping bag rated for the season, sleeping pad with adequate R-value, water filtration system, backpack sized 60-70 liters, headlamp, multi-tool, first aid kit, and navigation tools like a map or GPS app. Add a lightweight stove for cooking and weather-appropriate clothing layers. These items form your foundation for safe, comfortable backcountry trips.
How much should a beginner spend on backcountry camping gear?
Budget depends on your trip frequency and comfort level. A complete starter setup ranges widely based on brand and quality. Focus spending on items that directly impact safety and comfort: tent, sleeping bag, and pad. Consider renting high-end gear for your first few trips to test preferences before investing. Quality gear lasts years when maintained properly, making it a long-term investment rather than a single expense.
What is the difference between camping and backcountry camping gear?
Backcountry gear prioritizes weight, packability, and durability since you carry everything on your back over distance. Car camping allows heavier, bulkier items. Backcountry tents are lighter and more compact; sleeping bags are optimized for warmth-to-weight ratios; stoves are ultralight. Backcountry gear also emphasizes self-sufficiency, water filtration, navigation, and emergency supplies matter more when you're remote from help or resupply.
How do I choose the right backpack for a beginner backcountry trip?
Match pack volume to trip length: 40-50 liters for 2-3 days, 60-70 liters for 4-7 days. Measure your torso length for proper fit, most packs come in different sizes. Look for an adjustable hip belt, ventilated back panel, and rain cover. Test the pack with weight before buying if possible. A well-fitting pack distributes load to your hips, reducing shoulder strain on long treks. Brands like Osprey offer entry-level packs with good support and durability.
What is the 20% rule for backpacking?
The 20% rule suggests your base weight, everything except food, water, and fuel, should not exceed 20% of your body weight. For a 150-pound person, that's 30 pounds. This guideline helps prevent injury and fatigue on multi-day trips. Beginners often exceed this initially; focus on essential items and gradually optimize gear choices as you gain experience. Ultralight backpackers aim for 10-15%, but 20% is a practical starting target.
This article was written using GrandRanker