 listicle
10 Essential Items for a 3-Day Backpacking Trip
Table of Contents
- Why a 3-Day Trip Needs a System, Not Just a Gear List
- The 10 Essential Items for a 3-Day Backpacking Trip
- 1. Navigation and Safety Tools
- 2. Shelter and Sleep System
- 3. Hydration and Water Filtration
- 4. Food and the Best Camping Stove for Backpacking 2026
- 5. Clothing Layers and Rain Protection
- 6. First Aid Kit and Blister Prevention
- 7. Illumination: Headlamp and Backup Light
- 8. Repair Kit and Multi-Tool
- 9. Sun Protection and Emergency Shelter
- 10. Fire Starter and Paracord
- How to Pack a Backpack for 3 Days: Weight and Balance
- Backpacking Food Ideas for 3 Days
- Post-Trip Gear Maintenance
- Final Checklist for Your 3-Day Adventure
- Frequently Asked Questions
Last Updated: September 7, 2026
Most packing guides for a 3-day trip hand you a generic checklist and call it a day. That approach fails because it ignores the two variables that actually determine success: the weight of your pack and the specific conditions of your route. A 3-day backpacking trip is long enough that every ounce compounds across miles of trail, yet short enough that you can plan with precision. The 10 essential items for a 3 day backpacking trip only work when they function as a coordinated system.
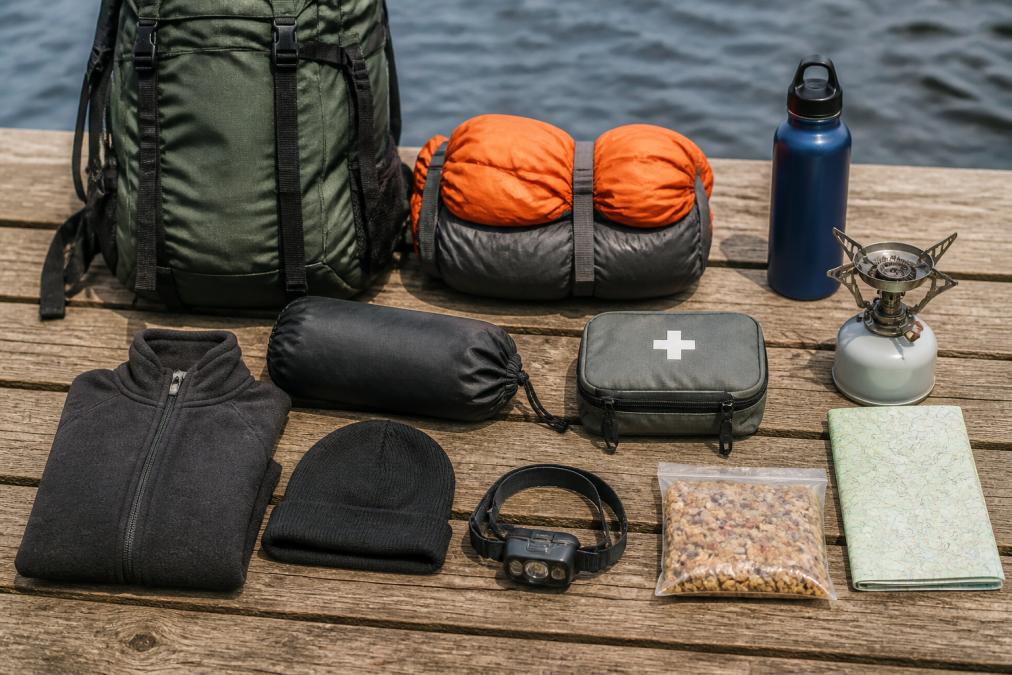
The 10 essential items for a 3 day backpacking trip form the backbone of every safe and enjoyable outing. These aren't just things to throw in a bag; they are categories of gear that address fundamental survival needs. What separates a comfortable trip from a miserable one is not buying the most expensive gear, but choosing items that serve multiple purposes and fit your specific environment.
Why a 3-Day Trip Needs a System, Not Just a Gear List
A simple gear list tells you what to bring, but it doesn't tell you how those items work together. On a 3-day trip, your shelter, sleep system, and clothing must complement each other to manage temperature and weather changes.
The core of a good system is the weight-to-utility ratio. For every item you consider, ask yourself: what is its primary function, and can it serve another purpose? A bandana can be a sun shield, a water filter pre-screen, or a pot holder. Paracord can rig a tarp, hang food, or serve as a clothesline. Thinking in terms of systems reduces your base weight and increases your preparedness.
The 10 Essential Items for a 3-Day Backpacking Trip
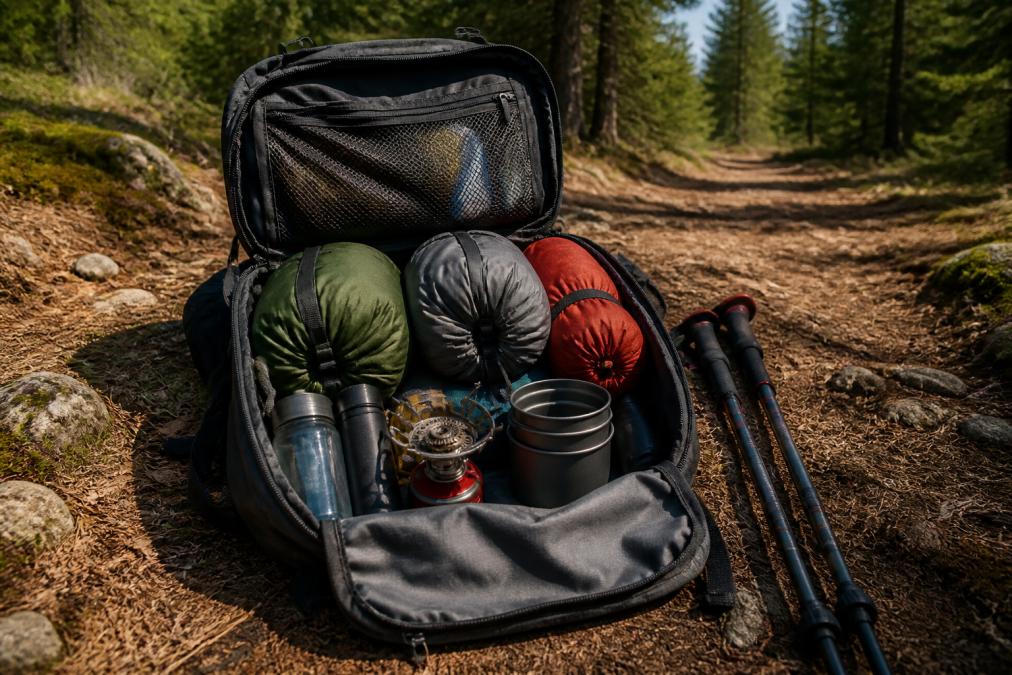
These ten categories represent the minimum you need to stay safe and comfortable for three days in the backcountry.
1. Navigation and Safety Tools
The most important tool on any trip is the one that keeps you from getting lost. A topographic map of your route and a reliable compass are non-negotiable, even if you plan to follow a well-marked trail.
Supplement your map and compass with a GPS device or a smartphone app loaded with offline maps. An emergency whistle is a lightweight addition that can be heard much farther than a human voice. Learn how to use these tools before you hit the trail, not when you're lost.
2. Shelter and Sleep System
Your shelter is your home for three nights, and it needs to protect you from wind, rain, and insects. A lightweight tent or tarp is the primary layer. For solo hikers, a 1-person tent minimizes weight; for pairs, a 2-person tent is a smart way to share the load.

Your sleep system is equally important for a good night's rest, which directly impacts your energy the next day. This includes a sleeping bag or quilt, a sleeping pad, and a pillow. Pay attention to the sleeping pad R-value, which measures its ability to insulate; a higher R-value is needed for colder conditions.
3. Hydration and Water Filtration
Water is the single most critical resource you carry. For a 3-day trip, you need a plan for both carrying and purifying water. A hydration system, like a water bladder with a drinking tube, makes it easy to sip throughout the day.
Relying on streams and lakes requires a reliable water filtration method. A portable water filter or purification tablets are essential to protect against waterborne pathogens. A common approach is to carry a squeeze filter or a pump filter. Always carry a backup method, such as purification tablets, in case your primary filter fails or freezes.
4. Food and the Best Camping Stove for Backpacking 2026
Fueling your body for three days of hiking requires planning. Dehydrated meals are a popular choice for dinners, as they are light and only require boiling water. For breakfast and lunch, consider instant oatmeal, trail mix, energy bars, and tortillas with peanut butter. Plan for roughly 2,500 to 3,500 calories per day, depending on your size and the terrain (the CDC).
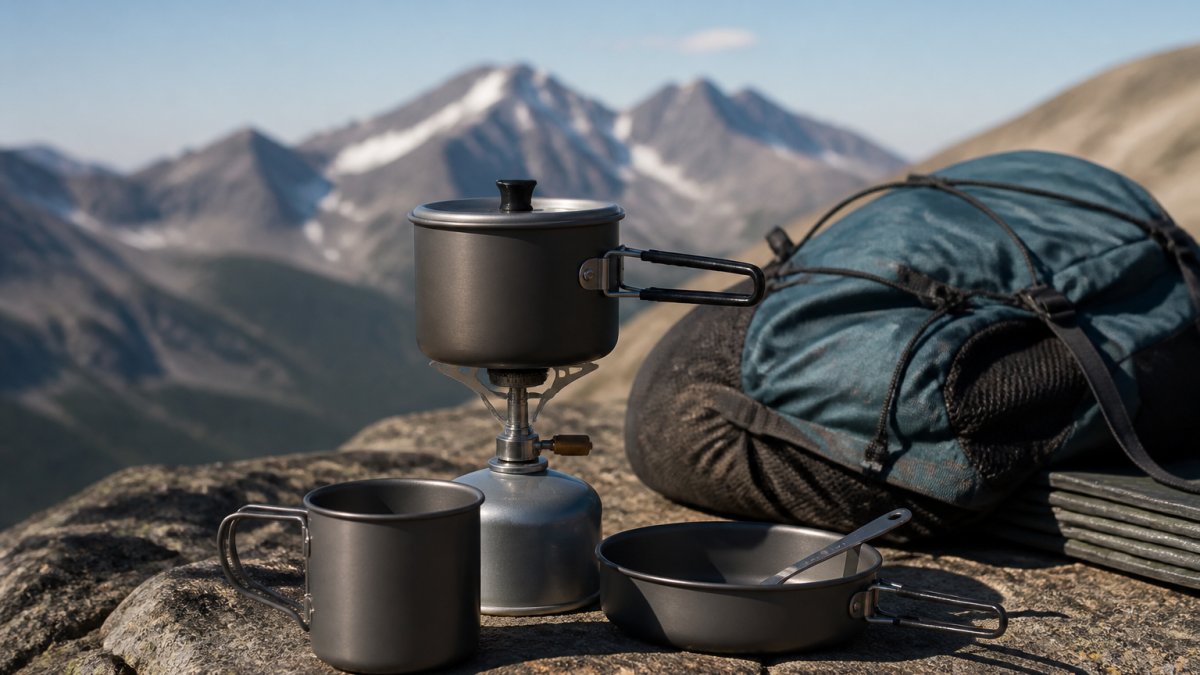
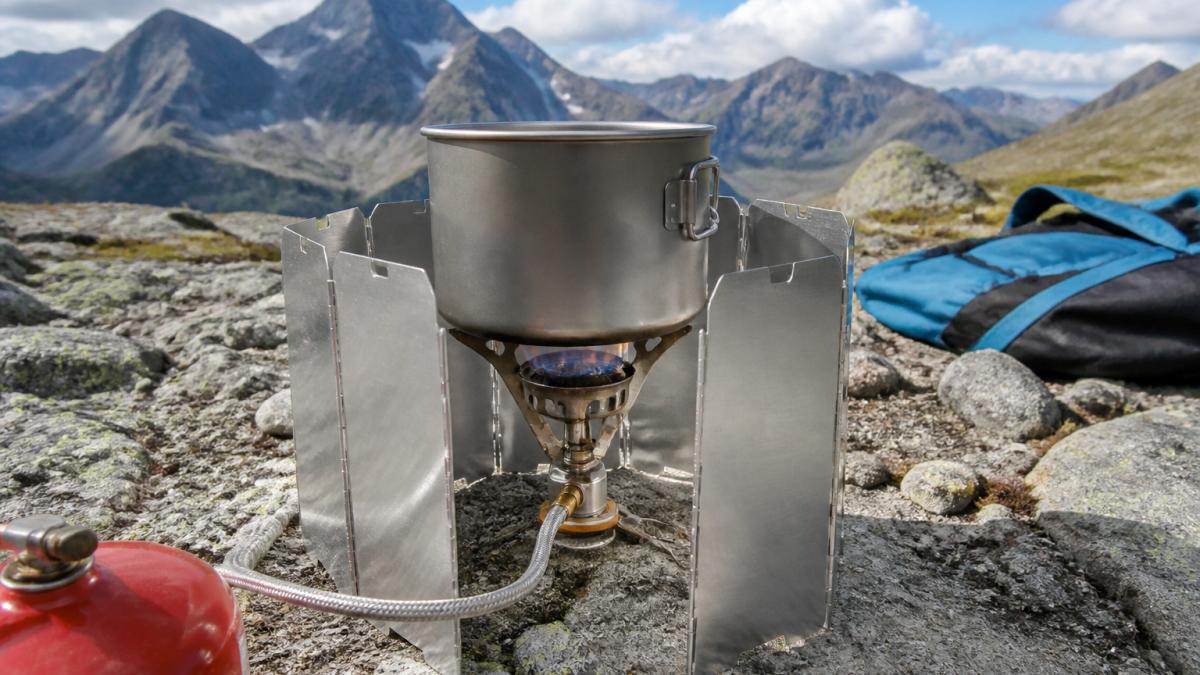
Preparing that food requires a reliable stove. The best camping stove for backpacking 2026 balances weight, boil time, and fuel efficiency. Canister stoves are the most popular choice for their ease of use and fast boil times. Always practice using your stove at home first, and pack a lighter or matches as a backup ignition source.
5. Clothing Layers and Rain Protection
The key to comfort in the mountains is a layering system that allows you to regulate your body temperature as you hike and rest. This system typically consists of three layers: a moisture-wicking base layer, an insulating mid-layer, and a waterproof shell.
Cotton is your enemy in the backcountry. When cotton gets wet, it loses its insulating properties and can lead to hypothermia, even in mild weather (the CDC). Stick to synthetic materials like polyester or merino wool for your base and mid-layers. Your rain protection should be a waterproof and breathable jacket and pants.
6. First Aid Kit and Blister Prevention
A well-stocked first aid kit is mandatory, but its contents should be tailored to the specific risks of hiking. Beyond the basics like bandages and antiseptic wipes, your kit should include items for treating blisters, the most common ailment on the trail. Moleskin or blister-specific bandages are essential for treating hot spots before they become open wounds.
Carry personal medications and know how to treat common issues like dehydration, heat exhaustion, and minor allergic reactions. Take a basic wilderness first aid course to handle more serious situations until help arrives.
7. Illumination: Headlamp and Backup Light
When the sun goes down, your world shrinks to the beam of your light. A headlamp is the standard choice because it leaves your hands free for cooking, setting up camp, or navigating at night. Look for a headlamp with adjustable brightness and a red light mode.
Carry a backup light source, such as a small keychain flashlight, in case your primary headlamp fails or its battery dies. Always carry extra batteries for your headlamp and other electronic devices.
8. Repair Kit and Multi-Tool
Gear failures happen, and being able to fix them on the trail can save your trip. A small repair kit is essential and should include items like duct tape, which can patch a tent tear, repair a sleeping pad, or protect a hot spot on your foot.
A multi-tool or a sturdy knife is one of the most versatile items you can carry. It can be used for food preparation, gear repair, and a host of other tasks. This single item can replace a dozen other tools in your pack.
9. Sun Protection and Emergency Shelter
Protecting your skin from the sun is critical, even on overcast days or in shaded forests. Sunburn not only causes pain but can also lead to serious health issues and dehydrate you faster. Your sun protection kit should include a high-SPF sunscreen, lip balm with SPF, and sunglasses.
An emergency shelter is a non-negotiable safety item that is distinct from your primary tent. An emergency bivy sack is a great choice. Made from reflective Mylar, it traps body heat to prevent hypothermia and is waterproof to keep you dry. It packs down to nearly nothing and can be a literal lifesaver if you are forced to spend an unexpected night out.
10. Fire Starter and Paracord
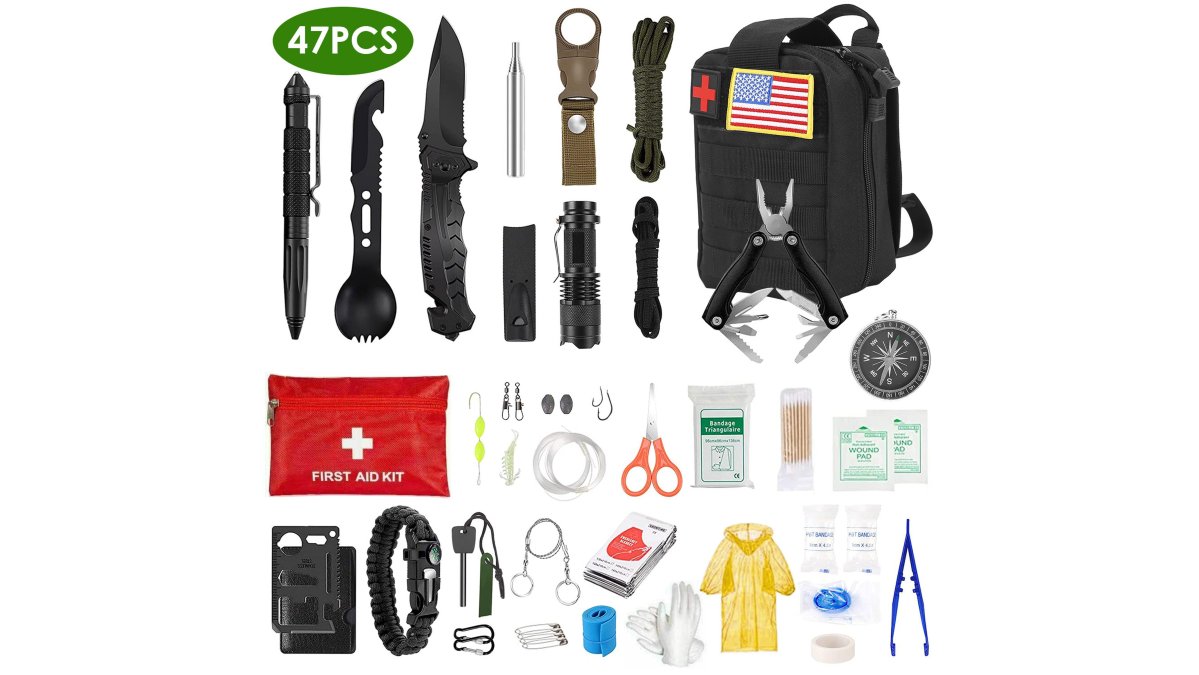
The ability to start a fire is a fundamental survival skill. While you might not need a fire every day, carrying multiple ways to start one is crucial. Waterproof matches, a butane lighter, and a magnesium rod or ferrocerium rod are all reliable options.
Paracord, or parachute cord, is an incredibly versatile tool. A length of 550 paracord, named for its 550-pound breaking strength, can be used to hang a bear bag, rig a tarp shelter, secure gear to your pack, or create a makeshift clothesline. Carrying 15 to 30 meters of paracord adds minimal weight and provides solutions to countless problems on the trail.
How to Pack a Backpack for 3 Days: Weight and Balance
Packing a backpack correctly is as important as what you put inside it. The goal is to place the heaviest items close to your back and centered between your shoulder blades, keeping the weight over your hips, where your body is strongest.
Start by placing your sleeping bag at the bottom of the pack, in a compression sack to save space. Next, pack your heavier items, like your tent and stove, in the middle section, closest to your back. Your food bag and cook kit can go on top for easy access during breaks. Keep your rain jacket, first aid kit, and a map within easy reach in the top or side pocket. Avoid strapping too much gear to the outside of the pack, which shifts your center of gravity.

| Category | Pack Location | Weight Goal | Why It Matters |
|---|---|---|---|
| Sleeping Bag | Bottom of pack | 2-3 lbs | Bulky but light, compresses well |
| Tent & Stove | Middle, near back | 4-6 lbs | Heavy items stay close to your center of gravity |
| Clothing & Food | Middle, around heavy items | 5-7 lbs | Fills space, balances the load |
| Rain Gear & First Aid | Top or outer pocket | 2-3 lbs | Must be accessible without unpacking everything |
| Water & Filter | Side pockets | 2-4 lbs | Easy access for frequent sipping |
Backpacking Food Ideas for 3 Days
Planning meals for three days is about balancing weight, nutrition, and morale. A common mistake is to bring too much food, which adds unnecessary weight. A good target is about 1.5 to 2 pounds of food per person, per day.
For breakfast, instant oatmeal with added dried fruit and nuts is a classic, hot and filling start. For lunch, consider no-cook options like tortillas with peanut butter and honey, or hard cheese and salami. Snacks like trail mix, energy bars, and jerky are crucial for maintaining energy between meals. For dinner, dehydrated backpacking meals are popular for their simplicity. Don't forget to pack a treat for the end of each day, like a piece of chocolate or a packet of instant coffee or tea.
Post-Trip Gear Maintenance
The trip doesn't end when you get back to the trailhead. Taking care of your gear immediately after a trip ensures it performs well for years to come. The first step is to unpack everything and give it time to air out.
Clean your gear according to the manufacturer's instructions. Your sleeping bag should be washed with a specialized cleaner to preserve its loft and insulation. Your water filter needs to be backflushed and stored properly to prevent mold. This is also the time to inspect your gear for damage, such as rips in your tent, worn spots on your backpack straps, and dull edges on your knife.
Final Checklist for Your 3-Day Adventure
Before you head out, a final review of your gear can be the difference between a great trip and a difficult one.
- Navigation: Map, compass, GPS device or downloaded offline maps, and a physical copy of your route plan.
- Shelter: Tent with rainfly and stakes, or a tarp system. Confirm all poles and parts are present.
- Sleep System: Sleeping bag or quilt, sleeping pad, and pillow. Check the pad for leaks.
- Hydration: Water bladder or bottles, and a water filter or purification tablets. Test your filter before you go.
- Food: All meals and snacks for three days, plus one extra day's worth in case of emergency. Pack your stove and fuel.
- Clothing: Moisture-wicking base layers, insulating mid-layer, waterproof shell, extra socks, and a hat.
- First Aid Kit: Check that it's stocked with blister care, bandages, and any personal medications.
- Illumination: Headlamp and a backup light source, with fresh or fully charged batteries.
- Repair Kit: Duct tape, multi-tool, and a small sewing kit.
- Sun Protection: Sunscreen, lip balm, and sunglasses.
- Emergency Items: Emergency bivy sack, fire starter, and a length of paracord.
Packing for a 3-day backpacking trip is a balance of preparation and restraint. By focusing on a system of versatile, high-quality gear that works together, you can enjoy the trail with confidence. At GreatAdventureSupply, our curated collections are built around this principle, offering durable and multifunctional equipment designed to perform when it matters most. From a portable first aid kit to a lightweight summer sleeping bag and a pop-up tent, we have the gear to make your next trip safer, easier, and more enjoyable. Get started with GreatAdventureSupply and confidently embrace your next adventure.

Frequently Asked Questions
What is the 20 rule for backpacking?
The 20 rule is a common guideline suggesting your fully loaded backpack should weigh no more than 20% of your body weight. For a 3-day backpacking trip, this means a 150-pound person should aim for a pack weight of 30 pounds or less. This includes your pack itself, which is why choosing lightweight gear and sticking to the 10 essential items is important.
How much water should I carry for a 3-day trip?
Plan on carrying about 2 liters of water at a time, which covers roughly half a day of hiking in moderate conditions. For a 3-day backpacking trip, you will need to refill from streams or lakes, so a portable water filter is an essential item. This lets you treat 1 liter of water in about a minute without carrying the weight of 3 days' supply.
What are the best lightweight gear options for multi-day trips?
Look for gear that balances weight with durability, starting with the 'big three': your tent, sleeping bag, and pack. For a 3-day trip, consider a pop-up tent that sets up in seconds, a summer sleeping bag rated to 40°F that compresses small, and a foldable 20L backpack for day hikes from camp. Every ounce saved on these large items reduces your base weight significantly.
How do I pack for a 3-day backpacking trip without overpacking?
Lay out all your gear and divide it into three categories: worn, packed, and luxury. Pack only the 10 essential items, plus your stove and food. Use stuff sacks to compress clothing and your sleeping bag. Place heavier items like water and food close to your back and mid-height. Weigh your final pack; if it exceeds 20% of your body weight, leave non-essential items behind.
What is the best camping stove for backpacking in 2026?
The best camping stove for backpacking in 2026 is one that is lightweight, reliable, and easy to use on uneven terrain. A compact canister stove with an integrated burner is the most popular choice for 3-day trips because it boils water in under 3 minutes and packs down to the size of a fist. Pair it with a fuel canister and a lightweight pot for a complete cooking system.