 how-to
How Do You Prevent Backpacking Stove Clogs in the Field?
Last Updated: October 24, 2026
Quick Summary
Prevent backpacking stove clogs with three habits: light-check the burner and jet before packing, cap the stove and canister immediately after every cook, and run the jet wire through the nozzle then store the stove dry and capped. These steps address debris, fuel residue, and spider webs, the causes behind nearly every field clog.
- Run a 10-15 minute pre-trip checkpoint at home, including a test-light at low and high settings.
- Keep a stiff brush and jet wire in your cook pot so you actually use them.
- Rule out a cold or empty canister before blaming a clog; warm it with body heat only.
- Never clean a stove while it is hot or still connected to fuel.
- Store the stove dry and capped in a zip bag, since off-season storage is prime spider-web season.
Table of Contents
- Why Backpacking Stove Clogs Happen and How to Spot One Early
- Backpacking Stove Maintenance: A Pre-Trip and Post-Trip Routine
- How to Clean a Backpacking Stove in the Field by Stove Type
- Backpacking Stove Troubleshooting: Clog or Fuel Issue?
- The Backpacking Stove Jet Cleaning Tool and Field Repair Kit
- Fuel Storage and Contamination Practices That Prevent Clogs
- Wind, Cold, and Cooking Habits That Protect Your Burner
- Stock Your Pack with a Reliable Stove and Field Cleaning Kit
- Frequently Asked Questions
Why Backpacking Stove Clogs Happen and How to Spot One Early
Backpacking stove clogs are partial or full blockages in the burner, jet, or fuel tube that cut fuel flow and turn a strong flame into a weak, sputtering mess. At GreatAdventureSupply, we hear about it most from hikers who skipped one step: cleaning the stove before packing it.
Clogs build up trip after trip, and the warning signs appear long before your stove quits on a cold morning.
Common Causes: Debris, Fuel Residue, and Spider Webs
Three things cause almost every clog:
- Debris: Dirt, ash, and grit that enters through an open burner or loose fuel cap.
- Fuel residue: Old fuel left in the line that thickens and gums up the jet.
- Spider webs: Small insects nest in burner holes and fuel tubes, especially during off-season storage.
Spider webs are the sneaky one. A stove that sat in a garage for six months can look clean and still be blocked.
Early Warning Signs: Uneven Flame, Weak Output, Sputtering
Your stove warns you before it fails. Watch for:
- An uneven flame that burns strong on one side and weak on the other
- A flame that takes longer to boil water than it used to
- Sputtering, popping, or a yellow-tipped flame
Any one of these means it's time to inspect and clean. For safe stove habits, see our guide on backpacking stove safety tips for beginners.
Backpacking Stove Maintenance: A Pre-Trip and Post-Trip Routine
What prevents clogs is a repeatable checklist with clear pass/fail criteria at three points: before you pack, during the trip, and after you return. Treat each checkpoint as a gate, if the stove fails, it doesn't go in the pack until it passes.
Pre-Trip Checkpoint (10-15 Minutes at Home)
Run this in order. Stop and fix anything that fails before moving on.
- Remove the fuel canister or empty and depressurize the tank. Never inspect a pressurized stove.
- Shine a light into the burner holes. Pass: you can see clean, round openings. Fail: any web strand, ash crust, or grit bridging a hole. Clear it with a stiff brush or the wire tool before continuing.
- Inspect the jet or nozzle. Pass: a clean pinhole with no visible residue. Fail: a dark ring or gummy film around the opening, that is fuel residue beginning to carbonize.
- Wipe the threads and the fuel-tube connection with a lint-free cloth. Grit on threads is how debris gets pushed into the jet when you screw the canister on.
- Check O-rings and seals. Pass: supple, uncracked, seated flat. Fail: flattened, nicked, or stiff, replace before the trip, not on the trail.
- Test-light at home. Pass: a steady blue flame within a few seconds at both low and high settings. Fail: sputtering, yellow tips, or a flame that only holds at full throttle. Diagnose before packing (see the troubleshooting section below).
- Let it cool, then cap the stove and the canister. A stove packed warm with the cap off invites dust into the burner.
Experienced hikers run this check the same day they pack food, so the stove never gets skipped the night before a trip.
During-Trip Checkpoint (Every Time You Cook)
- Cap the stove and canister immediately after the flame goes out and the burner cools. An open burner sitting in camp dust or pine duff collects exactly the grit that blocks a jet.
- Cook on a clean, level surface, a flat rock, stove pad, or bare mineral soil. Avoid ashy fire rings and loose dirt that wind can lift into the burner.
- Keep the fuel connection clean. Before attaching a canister, wipe the stove's threaded post and the canister collar. A single grain of sand in the threads can score an O-ring and let debris into the fuel path.
Post-Trip Checkpoint (Before It Goes Into Storage)
Storage is where most clogs are born. A stove put away wet, warm, or with fuel residue in the line will have a gummy jet by next season.
- Let the stove cool completely, not just until it is touchable, but until it is at ambient temperature.
- Brush ash and grit off the burner while it is dry. Once ash absorbs moisture in storage, it sets into a crust.
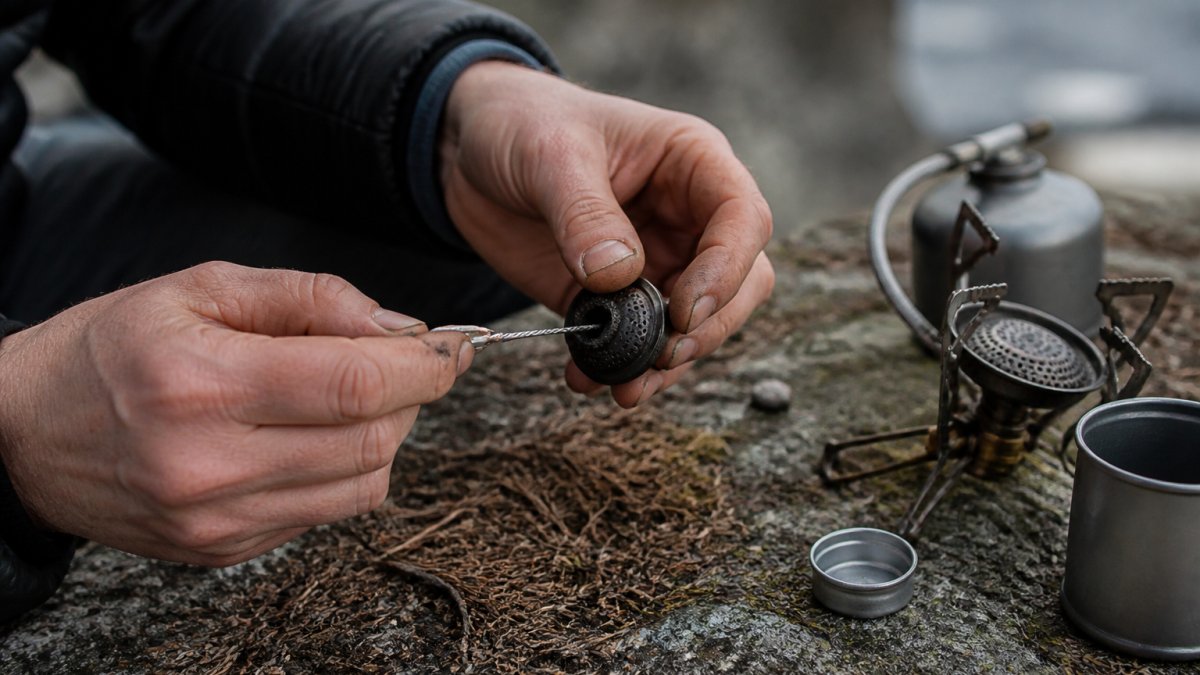
- Run the jet wire through the nozzle as a preventive pass, even if the flame was fine. This clears the first film of residue before it hardens.
- Wipe down the fuel tube and threads, then let everything air-dry fully before capping.
- Store the stove dry and capped, ideally in a zip bag, away from garage dust and insects. Off-season storage is prime spider-web season, a capped burner and a sealed bag are your best defense.
- Store fuel separately and correctly (see the fuel storage section below). Do not leave fuel in a liquid-fuel stove's tank for months.
Build your stove and cleaning kit into your pre-trip prep with a 3-day backpacking packing list, so the checkpoint becomes part of packing.
The One-Minute Version
If you remember nothing else: light-check before packing, cap after every cook, wire-and-dry before storage. Those three habits address debris, fuel residue, and insect nesting, the causes behind nearly every field clog.
How to Clean a Backpacking Stove in the Field by Stove Type
Learning how to clean a backpacking stove starts with knowing which type you carry, canister and liquid fuel stoves clog for different reasons, so the field steps differ.
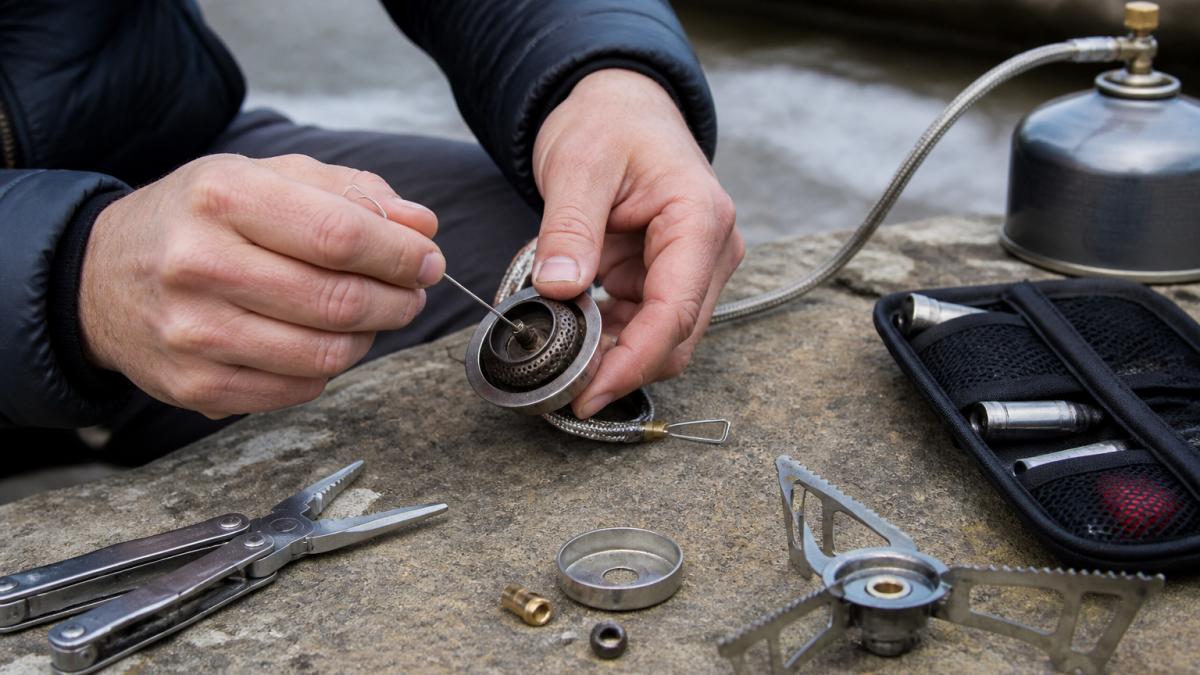
Canister Stove Field Cleaning
Canister stoves clog most often at the burner holes and the jet. Here's the field routine:
- Disconnect the canister and let the stove cool.
- Brush the burner with a small brush or cloth to clear ash and grit.
- Poke the jet with the wire tool that came with your stove.
- Blow through the fuel tube to clear loose debris.
- Reassemble and test-light before you cook.
If the flame is still uneven, the blockage is deeper in the fuel line. Stop there and use your backup stove.
White-Gas and Liquid Fuel Stove Field Cleaning
White-gas stoves need a bit more care because fuel residue builds up in the generator tube. The steps:
- Empty and depressurize the tank first.
- Remove the generator tube if your model allows it.
- Clean the jet and nozzle with the wire tool.
Never clean a stove while it's hot or still connected to fuel, residual pressure can spray fuel and create a fire hazard.
Backpacking Stove Troubleshooting: Clog or Fuel Issue?
A weak flame is not proof of a clog. Cold canisters, low fuel, wind, a worn O-ring, and a failing regulator all mimic a blocked jet. Rule out the cheap, safe causes first, in order.
Step 1: Rule Out the Canister (Canister Stoves)
A cold canister loses pressure and produces exactly the symptoms people blame on clogs: weak flame, sputtering, and a stove that only runs at full throttle.
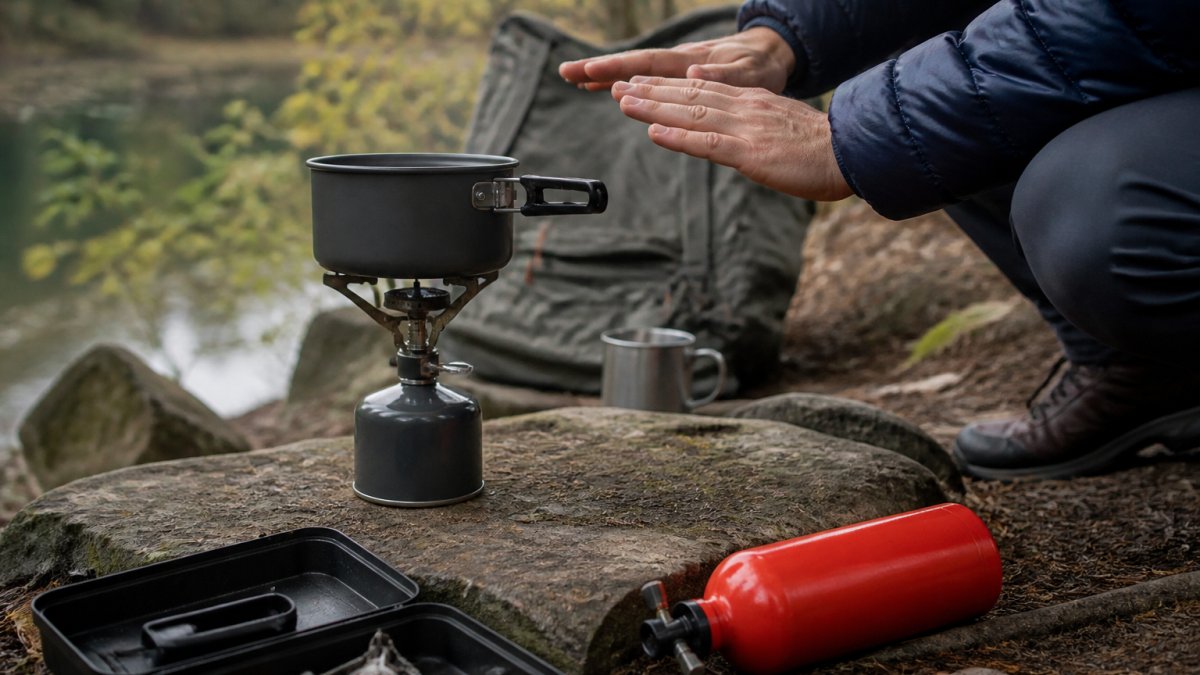
- Feel the canister. If it's cold, warm it in a jacket pocket or inside your layers for several minutes, then relight.
- Shake it gently. A canister that sounds empty or feels light is likely low on fuel, not clogged.
- Swap in a fresh, warm canister. If the flame returns to normal, the problem was fuel temperature or level, not the stove, this swap resolves most "clogged stove" reports in cold conditions.
Step 2: Rule Out Wind and Setup
Wind steals heat and distorts the flame, which can look like uneven output.
- Add or adjust a windscreen and relight. If the flame steadies, wind was the issue.
- Level the stove and center the pot. An off-center pot can deflect flame and make one side of the burner appear weak.
- Confirm the fuel connection is fully seated. A canister not threaded down completely delivers reduced flow that feels like a partial clog.
Step 3: Rule Out Fuel Quality and Contamination
If the stove is warm, fueled, and sheltered and still misbehaves, suspect the fuel.
- Liquid-fuel stoves: water or grit in the tank causes sputtering, popping, and a yellow-tipped flame. If you suspect contamination, stop, let the stove cool, empty the tank into a waste container, and refill with clean fuel. Don't burn through contaminated fuel.
- Canister stoves: a canister stored uncapped or in dirty conditions can push debris into the jet on connection. Wipe the collar and threads, then try a different canister.
- Old fuel that has sat for seasons leaves more residue. Rotate stock so older fuel is used first.
Step 4: Now Suspect the Clog
Only after Steps 1-3 does a clog become the leading explanation. Look for:
- Weak flame at both low and high settings with a fresh, warm canister → likely a partially blocked jet.
- Uneven flame, strong on one side, weak on the other → blocked burner holes.
- Flame that lights only at full throttle and dies when turned down → jet or fuel-tube restriction.
At this point, cool the stove, disconnect the fuel, and follow the field-cleaning steps for your stove type. Clear the burner holes first, then the jet. If the flame is still wrong after a clean, the blockage is deeper in the fuel line or generator, stop troubleshooting in the field.
Step 5: Know When to Stop
Field repair has limits, and pushing past them is how stoves get damaged and people get burned.
- Stop if the stove is hot. Cool it completely before any disassembly.
- Stop if you cannot depressurize the fuel system safely. Never open a pressurized liquid-fuel tank in the field.
- Stop if you lack the right tool. Improvised cleaning, a knife tip, a twig, a pin, can score a jet and turn a fixable clog into a ruined stove.
If you hit a stop condition, switch to your backup stove or cold-soak your meal. A missed hot dinner beats a damaged stove or a fuel fire.
| Symptom | First Check | If That Fails |
|---|---|---|
| Weak flame, both settings | Warm canister / swap fuel | Clear jet with wire tool |
| Uneven flame | Level the stove, add windscreen | Brush and clear burner holes |
| Sputtering, yellow flame | Swap canister, check fuel quality | Empty and refill liquid tank |
| Won't light at all | Check fuel level and connection | Clean nozzle, inspect O-rings |
| Flame dies mid-cook | Warm canister, check wind | Inspect jet and fuel tube |
| Fuel smell or visible leak | Shut down and move away | Do not relight; service the stove |
The Backpacking Stove Jet Cleaning Tool and Field Repair Kit
A backpacking stove jet cleaning tool is a thin wire prong sized to your stove's nozzle, the single most useful item for clearing a blocked jet in the field.
Build a small repair kit around it:
- Jet cleaning wire or prong tool
- Small stiff brush
- Multitool with pliers
Keep the kit in a zip bag inside your cook pot. If you're shopping for a stove to pair with your kit, our gas backpacking stove uses standard canisters and folds down small.

Fuel Storage and Contamination Practices That Prevent Clogs
Clean fuel means fewer clogs. Most fuel problems start with storage, not the stove.
- Keep canisters capped when not in use to block dirt and moisture.
- Store fuel cool and dry, away from direct sun.
- Don't reuse dirty fuel that picked up grit or water.
Water is the quiet killer in liquid fuel, a few drops in the tank cause sputtering and weak output. Store white gas in a clean, sealed, labeled bottle.
Wind, Cold, and Cooking Habits That Protect Your Burner
Wind and cold push your stove harder, and a strained burner clogs faster. Good habits protect it.
- Use a windscreen to keep the flame steady and cut fuel waste.
- Warm the canister in a jacket pocket before cold-weather cooking.
- Keep the burner covered when not in use to block debris.
Cold weather is where weak stoves fail first. Our windproof five-head camping stove is built for high-altitude and low-pressure conditions, and our windscreen guide covers keeping the flame steady when wind picks up.

Stock Your Pack with a Reliable Stove and Field Cleaning Kit
A clogged stove is fixable, but the best fix is prevention: check your burner before every trip, clean it after every trip, and carry a small jet cleaning tool and spare parts.
At GreatAdventureSupply, we stock the gear that makes that routine easy. Our gas backpacking stove is compact and built for the trail, and our windproof camping stove handles cold, windy conditions with stepless flame control.
Get started with GreatAdventureSupply and cook with confidence on every trip.
Frequently Asked Questions
What causes a backpacking stove to clog?
Most backpacking stove clogs come from three sources: debris and dust in the burner holes, spider webs or insect nests in the fuel tube, and residue from dirty or contaminated fuel. White-gas stoves are especially prone to fuel residue buildup, while canister stoves more often pick up grit and lint. Storing a stove without its cap or in a dusty pack compartment speeds up the problem. A quick inspection before each trip catches most of these before they strand you at dinner.
How do you clean a clogged backpacking stove in the field?
First, let the stove cool completely and disconnect the fuel. For a canister stove, remove the burner head if the design allows, then clear the burner holes and jet with a jet cleaning tool or a stiff wire. Shake out loose debris and wipe the fuel tube opening. For a white-gas stove, disassemble the fuel line and nozzle, clear the jet, and check the fuel for grit. Reassemble, test the flame, and repeat if output is still uneven. Carry spare parts in case a jet is too damaged to clear.
How can you tell whether a stove problem is a clog or a fuel issue?
A clog usually shows up as an uneven flame, a weak yellow flame, or one burner hole that stays dark while others burn. A fuel issue tends to cause sputtering, a flame that dies shortly after ignition, or no fuel flow at all even when the valve is open. Try a fresh canister or fuel bottle first. If the flame is still uneven with good fuel, the jet or burner holes are the likely culprit and need cleaning.
What tools should you carry to maintain a backpacking stove?
Pack a dedicated backpacking stove jet cleaning tool, a small multitool with pliers and a pick, a spare jet or nozzle if your stove uses one, and a small cloth for wiping parts. A few replacement O-rings take almost no space and can rescue a trip when a seal fails. Store everything in a small zip pouch so it stays with the stove. GreatAdventureSupply's Gas Backpacking Stove pairs well with a compact field kit like this for multi-day trips.