 how-to
How to Break in Stiff Hiking Boots: A Step-by-Step Plan
Table of Contents
- Why Stiff Hiking Boots Need a Break-In Period
- How to Break In Stiff Hiking Boots: A Day-by-Day Schedule
- How Long to Break In Hiking Boots (and What Affects the Timeline)
- How to Soften Stiff Hiking Boots Without Damaging Them
- How to Prevent Blisters When Breaking In Hiking Boots
- Normal Stiffness vs. Poor Fit: When to Return or Stretch
- What to Do When a Hike Is Imminent
- Conclusion: Breaking In Boots Takes Patience, Not Shortcuts
- Frequently Asked Questions
Last Updated: October 12, 2026
Why Stiff Hiking Boots Need a Break-In Period
Brand-new hiking boots are built to be stiff. That stiffness protects your feet on rocky ground. But it also means the boot hasn't shaped to your foot yet.
Skip that process and you invite blisters, hot spots, and heel slip. Full-grain leather boots need the longest break-in. Synthetic boots with mesh panels soften faster.
Here's the good news. A planned break-in takes about two weeks.
How to Break In Stiff Hiking Boots: A Day-by-Day Schedule
The best way to break in stiff hiking boots is gradual, low-impact wear with a clear progression rule: only move to the next stage when the current stage feels comfortable for the full duration, with no hot spots and no lingering pressure points.
Days 1-3: Indoor Wear and Short Walks
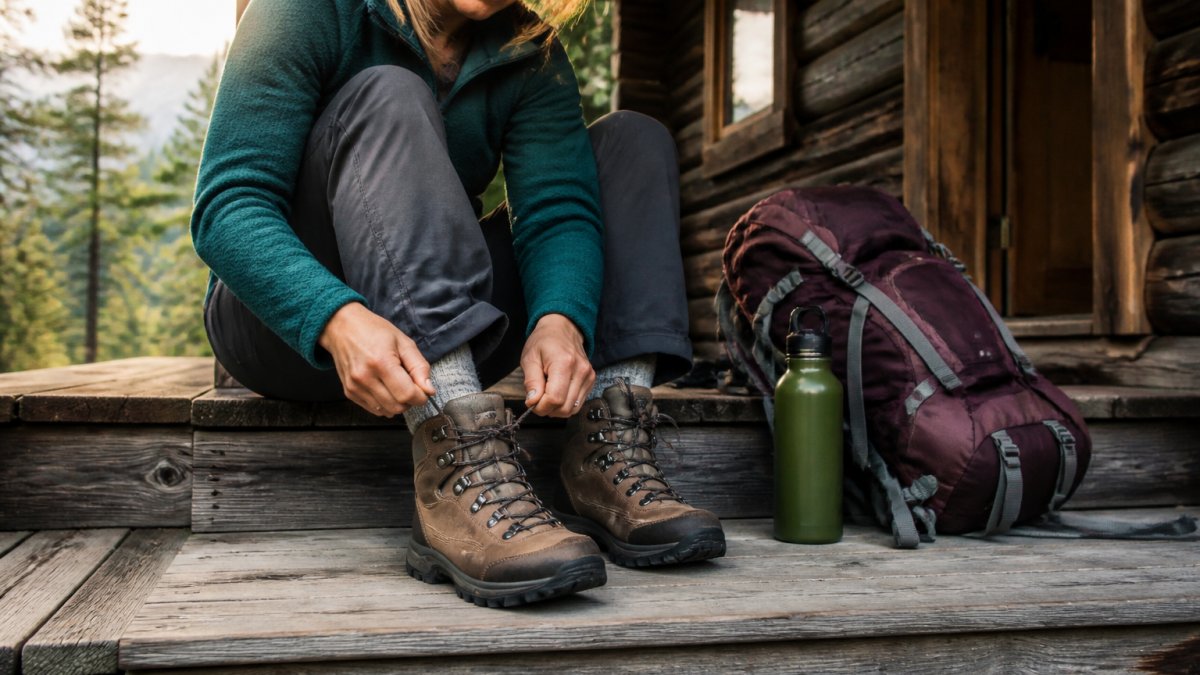
Wear your boots indoors for one to two hours a day. This softens the uppers without exposing them to dirt or moisture.
Wear the hiking socks you plan to use on the trail. Sock thickness changes foot volume inside the boot, so testing with the wrong socks gives you false feedback.
Progression check: by the end of day three, you should be able to wear the boots for two hours indoors with no hot spots.
Days 4-7: Longer Walks and Lacing Adjustments
Move to 30 to 45-minute walks on sidewalks or smooth paths, once or twice a day. This is when lacing matters. A common mistake is tying boots too tight at the top. That locks your heel and causes pressure points.
Try this lacing method:
- Lace the lower section snug, but not tight
- Skip the top eyelet if you feel pressure on your instep
- Use a heel-lock loop to stop heel slip
- Retie midway through a walk if your feet swell
Progression check: by day seven, a 45-minute walk should end with warm, flexed boots and no rubbing. If a hot spot appears in the same spot twice, treat it as a fit signal, not a break-in problem, and see the fit section below.
Week 2 and Beyond: Trail Time and Distance Progression
Now add uneven terrain. Start with a 2 to 3-mile day hike on gentle trails, then increase distance by roughly 1 to 2 miles per outing and add elevation gradually. Most boots feel broken in after 20 to 40 total miles.
Watch for hot spots on every hike. Stop and adjust before a hot spot becomes a blister. A useful rule: if you have to think about your feet more than once an hour, the boot is not ready for that distance yet.
Material-Specific Adjustments
- Full-grain leather: Slowest timeline. Expect 40 to 60 miles. Leather molds to your foot over time, so consistency matters more than intensity. Condition the leather lightly before you start to keep it supple.
- Nubuck and split leather: Middle timeline, roughly 25 to 40 miles. Softer out of the box but still benefits from the staged schedule.
- Synthetic uppers with mesh: Fastest timeline, often 15 to 25 miles. The upper softens quickly, but a stiff midsole may still need trail miles to flex.
- Stiff mountaineering or backpacking boots: Longest timeline, sometimes 60-plus miles. These are built rigid on purpose, so break them in on shorter, loaded day hikes before committing to a multi-day trip.
Progression Criteria at a Glance
| Stage | Daily Wear | Walk Distance | Move On When |
|---|---|---|---|
| Days 1-3 | 1-2 hours indoors | 15 min pavement | No hot spots after 2 hours |
| Days 4-7 | 1-2 sessions | 30-45 min | No rubbing after 45 min |
| Week 2 | 1 hike | 2-3 miles trail | No pressure points on uneven ground |
| Week 3+ | 2-3 hikes | Add 1-2 miles each | Comfortable at target distance |
How Long to Break In Hiking Boots (and What Affects the Timeline)
Most hiking boots need one to two weeks of regular wear, or roughly 20 to 40 miles, before they feel comfortable. Several factors stretch or shorten that timeline:
- Boot construction: Full leather takes longest. Synthetic uppers soften faster.
- Your foot volume: High-volume feet stretch boots sooner.
- Terrain: Uneven ground works the boot more than pavement.
- Socks and insoles: Thick socks and added insoles change fit fast.
How to Soften Stiff Hiking Boots Without Damaging Them
Heat and water are the two fastest ways to wreck a good boot. Never bake boots in an oven, microwave them, or soak them in hot water. The reason is mechanical: modern boots hold together with adhesives and, in many cases, a waterproof-breathable membrane. High heat softens and eventually breaks down those adhesives, which lets the sole or rand separate from the upper.
What Actually Softens a Boot
Stiffness comes from three places: the upper material, the midsole, and the internal structure. Each softens differently.
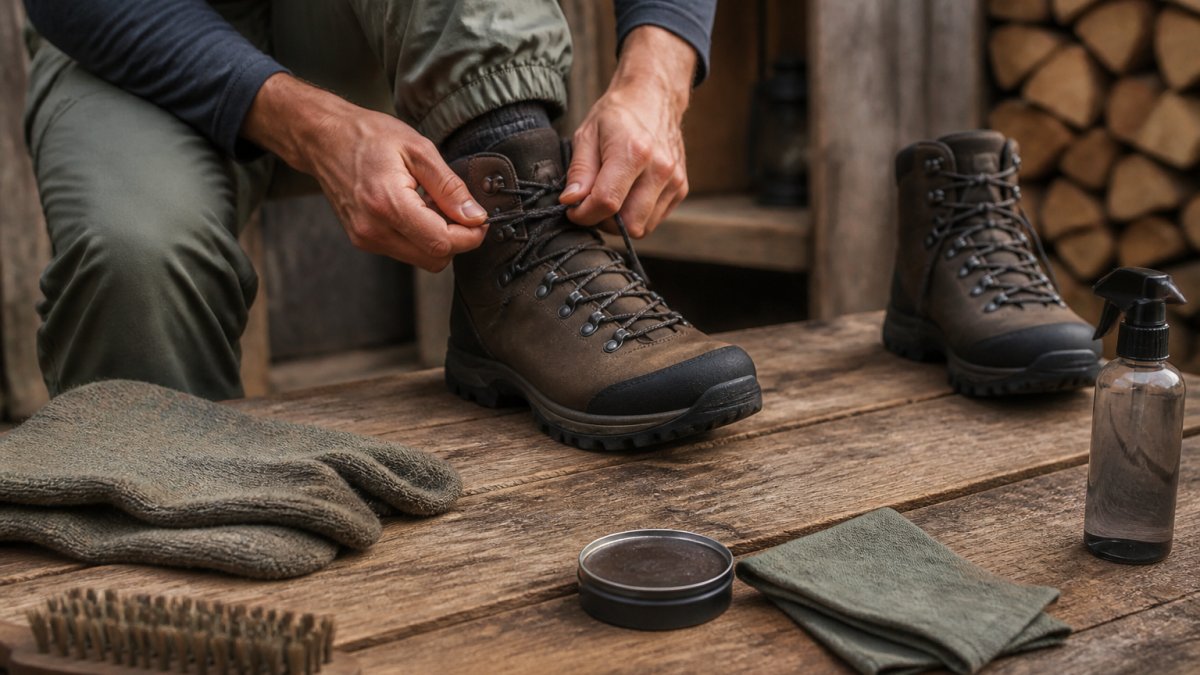
- Leather uppers soften through repeated flexing and moisture from your own foot, plus a light application of leather conditioner. Conditioner replaces oils that keep the fibers supple; it does not stretch the boot.
- Synthetic uppers soften mostly through flexing. They do not absorb conditioner the way leather does, so products designed for leather can leave residue or clog mesh.
- Stiff midsoles (common in backpacking and mountaineering boots) soften slowly with trail miles and load. No product speeds this up much.
- Internal shanks and lasting boards are structural. They are not meant to soften, and trying to force them can damage the boot.
Safe Methods
- Apply a leather conditioner to soften stiff leather uppers. Use a product made for the specific leather type, and follow the maker's instructions.
- Wear them with thick socks around the house to warm and flex the material. Body heat is gentle and safe.
- Use a boot stretcher for tight spots, not for overall stiffness. Stretching targets width or a specific pressure point; it will not make a rigid boot flexible.
- Let wet boots dry at room temperature, never near a heater, radiator, or in direct sun. Stuff them with newspaper or use a boot dryer on a low, unheated setting.
- Walk in them. Flexing is the single most effective and safest way to soften a boot.
Methods to Avoid
- Oven, microwave, or hair-dryer heat
- Soaking boots in hot water or wearing them wet for hours
- Freezing boots to "loosen" them
- Applying oils, grease, or wax to synthetic uppers
- Using a stretcher to force a boot that is simply too small
For a waterproof boot with a membrane, check the maker's care guidance before applying any product. The REI guide to waterproof-breathable membranes explains how these layers work and why heat harms them.
When Softening Will Not Help
If the boot is the wrong size or width, softening will not fix it. A boot that pinches at the ball of the foot, allows constant heel slip, or causes pain that worsens with wear is a fit problem, not a stiffness problem. Return or exchange it rather than trying to force it into shape.
How to Prevent Blisters When Breaking In Hiking Boots
Blisters come from friction, moisture, and heat. Control all three and you protect your feet during break-in.
- Wear moisture-wicking hiking socks, never cotton
- Add a thin liner sock under a thicker one for high-friction days
- Keep toenails trimmed to prevent toe bang on descents
- Stop at the first sign of rubbing and re-lace
- Carry blister patches on every walk
The American Podiatric Medical Association foot care tips recommends checking your feet during and after activity, especially when breaking in new footwear.
Normal Stiffness vs. Poor Fit: When to Return or Stretch
Stiffness fades with wear. A poor fit never does. Learn to tell them apart before you commit to a long trip.
| Sign | Normal Stiffness | Poor Fit |
|---|---|---|
| Toe box | Snug, toes still wiggle | Toes touch the front |
| Heel | Slight slip at first | Constant heel slip |
| Width | Firm sides, no pinch | Pinching at the ball |
| Pain | Fades after 10 minutes | Worsens with wear |
| Pressure points | Soften over days | Stay in one spot |
If pain worsens or stays in one spot, the boot is likely the wrong size or width. Try a professional stretch first. If that fails, return the boot. A boot that hurts after two weeks of wear will not fix itself.
What to Do When a Hike Is Imminent
You booked the trip. The boots are still stiff. Skip the risky shortcuts and use a compressed schedule instead.
- Wear boots indoors for two full days, two hours at a time
- Take three 30-minute walks in the days before you leave
- Use liner socks plus hiking socks on the trail
- Bring blister patches and moleskin in your pack
- Plan shorter mileage for the first two days
- Loosen laces on climbs and tighten on descents
If a boot still pinches at the ball of the foot, do not force it. A spare pair of broken-in boots beats a painful trip.
Conclusion: Breaking In Boots Takes Patience, Not Shortcuts
Rushing a break-in is a common mistake. Heat, water, and long first hikes damage boots and feet alike. The fix is patience: short walks, good socks, and steady mileage gains.
When you're ready for your next pair, GreatAdventureSupply carries boots built to hold up on real trails. The PCT 8 Boot offers an 8-inch shaft for ankle support, a water-resistant exterior, and a cushioned insole for long days. The PCT Urban Hiker 5" Boot is lighter and built for all-day comfort.


Get started with GreatAdventureSupply and find boots that make every mile easier.
Frequently Asked Questions
Is it normal for hiking boots to hurt at first?
Some stiffness and pressure are normal during the first few wears of leather or stiff synthetic boots. Mild discomfort that fades as the boots warm up and mold to your feet is part of the break-in process. Sharp pain, numbness, or persistent hot spots are not normal and often signal a fit problem. If pain continues after several short wears, check your lacing, sock choice, and whether the boot width matches your foot volume. A boot that truly fits should feel snug, not painful.
How long should it take to break in hiking boots?
Full-grain leather boots typically need 20 to 40 miles of wear, which can take two to four weeks of regular use. Synthetic and nubuck boots often break in faster, sometimes within a week of short walks. The timeline depends on boot construction, leather thickness, and how consistently you wear them. A gradual progression from indoor wear to short walks to longer hikes gives the uppers and midsoles time to flex without causing blisters.
Can you break in hiking boots by wearing them around the house?
Yes. Indoor wear is one of the safest first steps. Wear your hiking socks and lace the boots as you would on the trail, then walk around the house for 30 to 60 minutes at a time. This warms the leather and starts flexing the uppers without exposing your feet to dirt or moisture. It also lets you feel pressure points early, before a long hike turns them into blisters. Pair indoor wear with short outdoor walks for the best results.
How can you prevent blisters while breaking in hiking boots?
Wear moisture-wicking hiking socks, not cotton, and make sure they fit without wrinkles. Lace the boots snugly through the midfoot to reduce heel slip, but leave the top eyelets slightly looser for ankle flex. Start with short walks and increase distance gradually. If you feel a hot spot, stop and apply a blister bandage or moleskin before it becomes a blister. Keeping feet dry and reducing friction are the two most effective prevention strategies during the break-in period.