 how-to
Gourmet Backpacking Meals: Cook Better Food on the Trail
Table of Contents
- Why Gourmet Meals Matter on the Trail
- Essential Gear for Backcountry Cooking
- Backpacking Meal Planning for Multi-Day Trips
- Simple Gourmet Backpacking Recipes for Every Meal
- One-Pot Backpacking Meals That Taste Restaurant-Quality
- Backpacking Spices and Seasonings for Bold Flavor
- Lightweight Ingredients and Calorie-Dense Foods
- Food Safety and Storage on the Trail
- Frequently Asked Questions
Last Updated: October 10, 2026
Why Gourmet Meals Matter on the Trail
The best gourmet backpacking meals transform your trip into something memorable, lifting morale, providing essential calories, and turning camp into a place you actually want to be.
Most backpackers accept mediocre trail food because they think wilderness cooking is complicated. It isn't. With the right approach, you can prepare restaurant-quality meals that weigh almost nothing.
Simple ingredients combined with basic technique create meals that taste genuinely good. The difference between a forgettable trip and a great one often comes down to what you eat at day's end.
Gourmet backpacking meals solve a real problem: lightweight backpacking food is traditionally either expensive, tasteless, or both. Freeze-dried meals cost money and taste like cardboard. Instant noodles are cheap but leave you hungry. Fresh ingredients are heavy and spoil quickly.
The solution is learning how to cook gourmet meals while backpacking using a small set of lightweight, calorie-dense ingredients that actually taste good together.
Essential Gear for Backcountry Cooking
A reliable stove, a pot, and a few utensils are enough to prepare excellent meals.
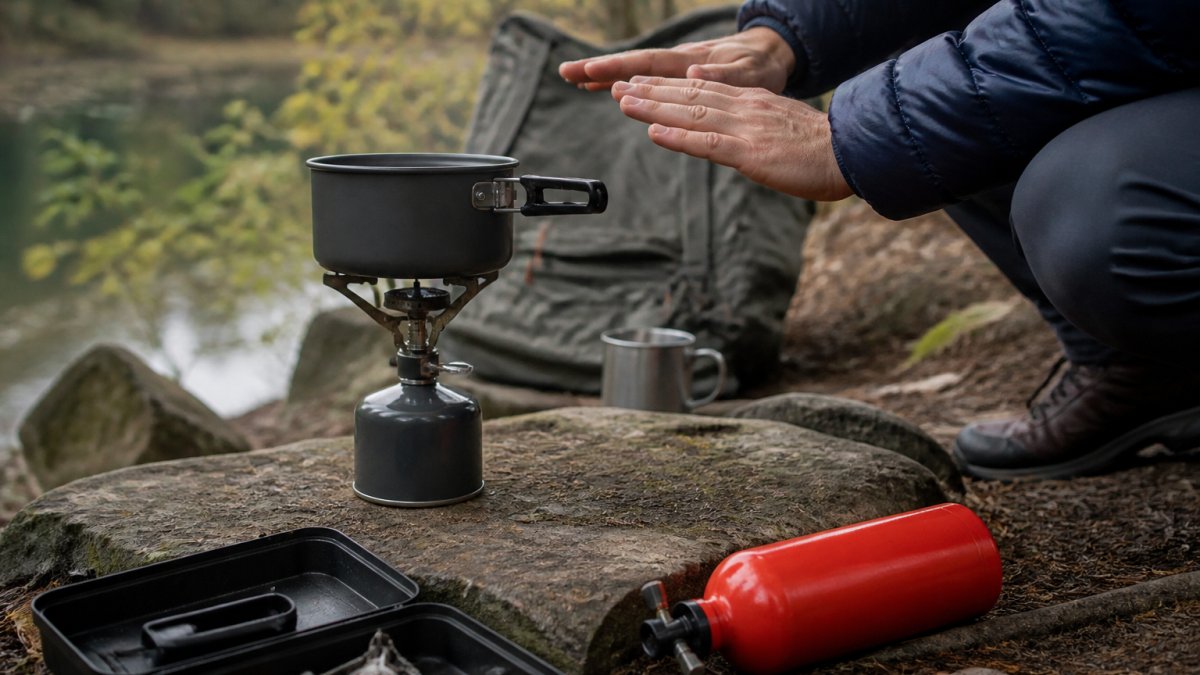
The Gas Backpacking Stove is the most practical choice for most trips. Standard gas canisters are available everywhere, and setup takes seconds. Leave No Trace principles for backcountry cooking recommend contained cooking systems that minimize environmental impact, this stove fits that requirement perfectly.

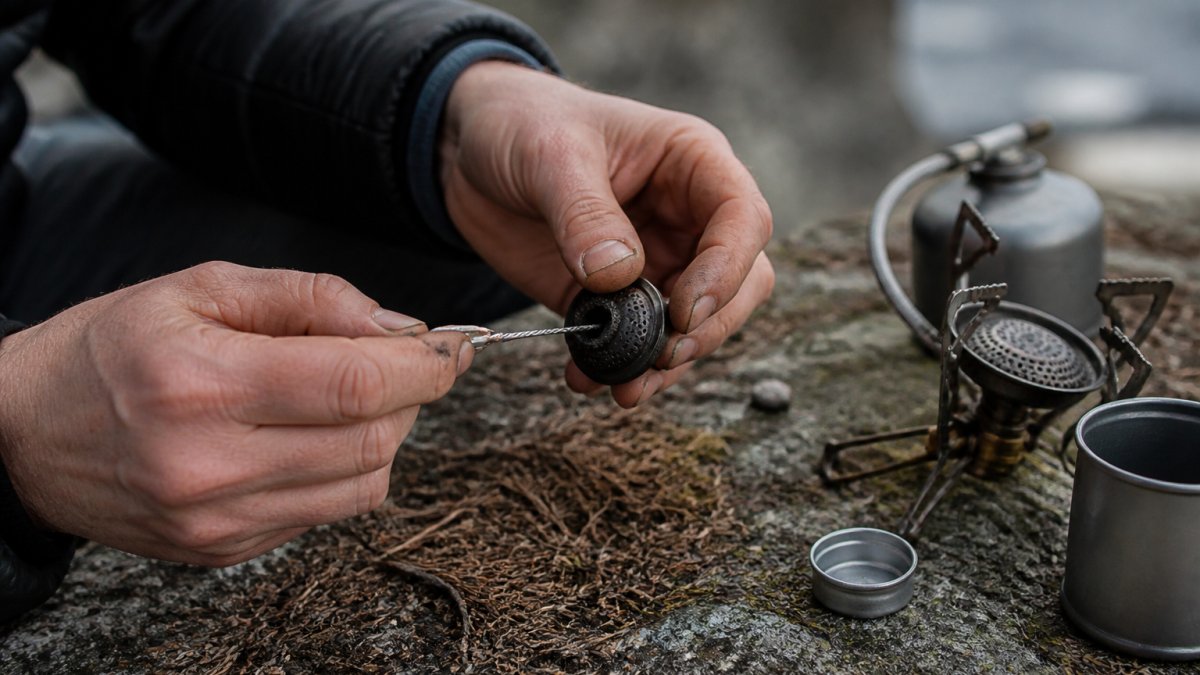
The Bio Stove Cooking Kit burns natural twigs and leaves instead of canisters, ideal for areas with plenty of dead wood. It weighs just over a pound and includes a stainless steel pot.
The Stainless Steel Camping Pot Set includes a pot, pan, and lid for one-pot meals or frying. Stainless steel distributes heat evenly and performs better for gourmet cooking than lightweight aluminum.
The Camping Cookware Kit Outdoor Aluminum Cooking Set provides additional pans and utensils for elaborate meals. The nonstick coating makes cleanup easier.
One utensil matters most: a lightweight spoon or spork to stir, eat, and serve. Skip fancy multi-tools.
Backpacking Meal Planning for Multi-Day Trips
Smart backpacking meal planning starts with calories and weight. You need roughly 5,000-6,000 calories per day on the trail. Most backpackers undereat because they don't plan properly.
Plan backward from your calorie target: choose meals first, then list ingredients. This prevents overpacking and ensures proper ratios of carbs, fat, and protein.
For a three-day backpacking trip, aim for:
- Breakfast: 800-1,000 calories
- Lunch: 1,000-1,200 calories
- Dinner: 1,500-1,800 calories
- Snacks: 1,000-1,200 calories
This adds up to roughly 5,300 calories per day, enough to sustain effort without excessive weight.
Write out your full menu before packing. This takes 15 minutes and prevents last-minute decisions that lead to heavy, unappetizing food.
Buy ingredients in bulk and portion them into labeled small bags. Pre-portioning saves time at camp and prevents waste.
Test your meals at home before the trip. Cook them in your camping pot over your backpacking stove. This reveals problems, underestimated cook times, flavors that don't work, ingredients that don't pack well, before you're hungry and tired on the trail.

Simple Gourmet Backpacking Recipes for Every Meal
Trail Breakfast: Garlic Herb Grits with Cheese
Grits are underrated trail food: cheap, lightweight, versatile, and ready in 15 minutes with sustained energy for morning hiking.
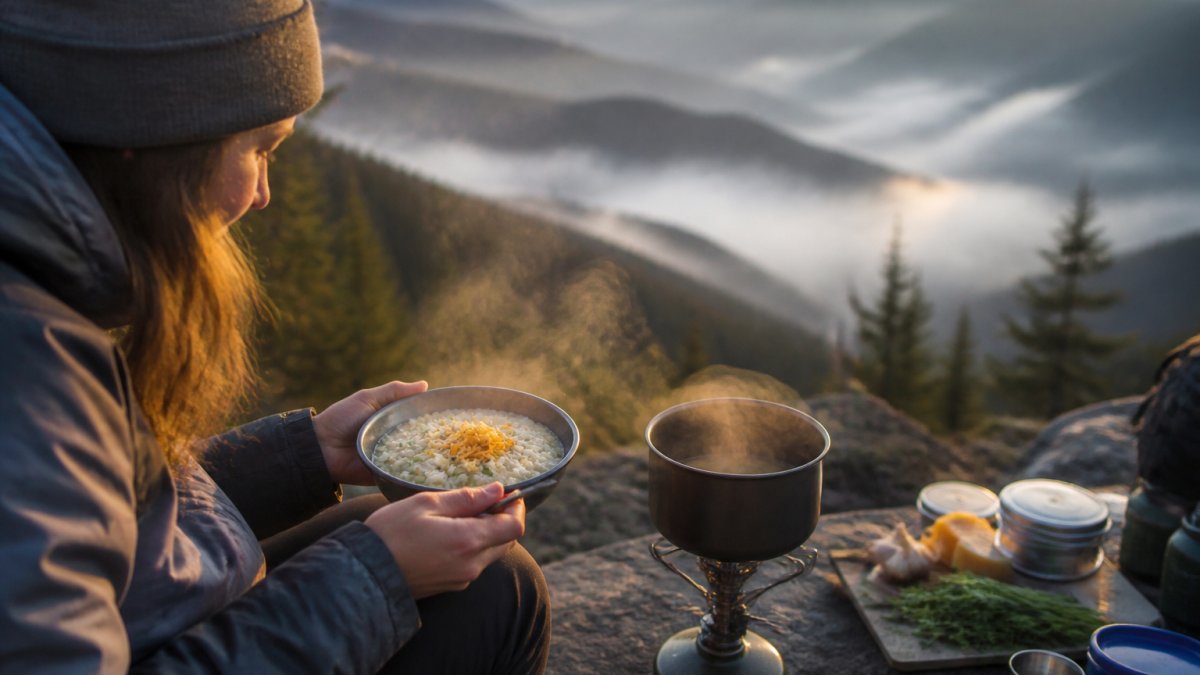
Ingredients (per serving):
- 1/4 cup instant grits
- 3/4 cup water
- 1 tablespoon butter
- 1 tablespoon Parmesan cheese
- 1/4 teaspoon garlic powder
- Pinch of salt and black pepper
- Optional: dried chives or fresh herbs if you have them
Instructions:
- Bring water to a boil in your camping pot.
- Stir in grits slowly to prevent clumping. Keep stirring.
- Reduce heat and simmer for 5 minutes, stirring occasionally.
- Add butter, cheese, garlic powder, salt, and pepper.
- Stir until smooth. The mixture should be creamy, not stiff.
- Serve immediately in your bowl.
This meal provides roughly 350 calories and tastes nothing like typical trail food. Butter and cheese add fat for sustained energy, while garlic powder transforms plain grits into something memorable.
Backcountry Lunch: Tuna Salami Tortilla Wraps
Lunch on the trail should require no cooking. Wraps are portable, filling, and combine protein and fat in a lightweight package.
Ingredients (per serving):
- 1 large flour tortilla
- 1 can or pouch of tuna
- 2 ounces salami, sliced thin
- 1 ounce Swiss cheese, sliced
- 2 tablespoons hummus
- Handful of crackers (optional, for texture)
- Salt and pepper to taste
Instructions:
- Lay the tortilla flat on a clean surface or your lap.
- Spread hummus across the tortilla.
- Layer tuna, salami, and cheese down the center.
- Add crackers if you want crunch.
- Season with salt and pepper.
- Roll tightly and wrap in foil or parchment.
- Eat at lunch or save for later.
This wrap provides roughly 600 calories. Tuna packets are lightweight and shelf-stable. Salami adds fat and flavor. Swiss cheese is denser than softer varieties and travels better. Hummus adds moisture and flavor without much weight.
Trail Dinner: One-Pot Mushroom Risotto
Risotto seems fancy but cooks easily over a camp stove using lightweight ingredients.
Ingredients (per serving):
- 1/2 cup arborio rice (or any short-grain rice)
- 1.5 cups water or broth
- 1/4 ounce dried mushrooms (rehydrate in hot water)
- 1 tablespoon butter
- 1 tablespoon Parmesan cheese
- 1/4 teaspoon garlic powder
- Pinch of salt and black pepper
- Optional: 1 tablespoon white wine powder (adds depth)
Instructions:
- Rehydrate dried mushrooms in hot water for 5 minutes. Chop them roughly.
- Bring broth to a boil in your pot.
- Add rice and stir constantly for 2 minutes.
- Reduce heat to medium. Add mushrooms and their soaking liquid.
- Stir frequently for 15-18 minutes until rice absorbs liquid and becomes creamy.
- Add butter, cheese, garlic powder, salt, and pepper.
- Stir until smooth. Serve immediately.
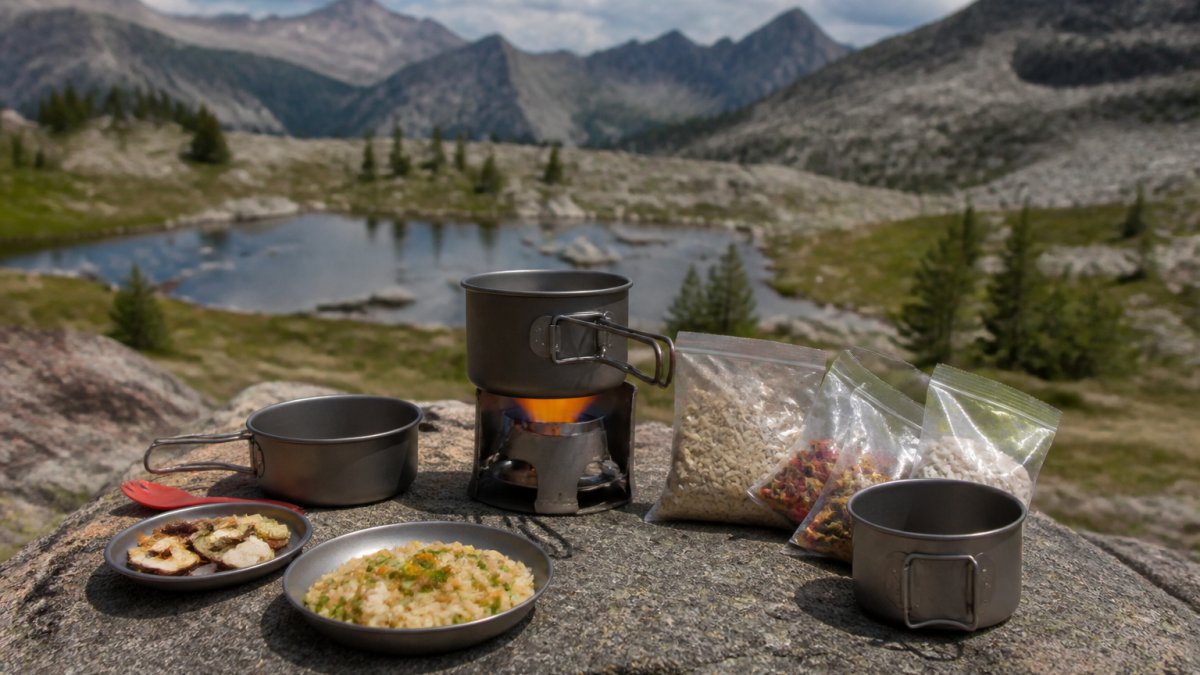
This meal provides roughly 700 calories. Arborio rice creates the creamy texture that makes risotto special. Dried mushrooms are lightweight and add umami flavor. Constant stirring releases starch that makes the dish creamy and restaurant-quality.
One-Pot Backpacking Meals That Taste Restaurant-Quality
One-pot meals are the foundation of gourmet backpacking food. They minimize cleanup, use less fuel, and create natural flavor combinations.
Layer flavors by starting with fat, toasting aromatics, adding protein, building in vegetables and starches, then finishing with acid and salt.
Tuna noodle casserole translates perfectly to the trail: cook pasta, drain, add canned tuna, butter, garlic powder, and Parmesan, then toss and serve.
Ramen upgrades dramatically: cook noodles, add canned chicken or tuna, stir in garlic powder, soy sauce powder, and dried vegetables, then top with sesame oil.
The secret to one-pot meals is using lightweight, shelf-stable ingredients that work together. Dried mushrooms, garlic powder, Parmesan, butter, and salt are your foundation. Build from there based on what you're cooking.
Backpacking Spices and Seasonings for Bold Flavor
Bland food comes from skipping spices. Most backpackers pack only salt, a mistake.
Pack spices in small labeled containers or bags. A small film canister holds enough garlic powder for a week-long trip and weighs almost nothing.
Essential backpacking spices and seasonings include:
- Garlic powder (the most versatile)
- Black pepper (freshly ground if possible)
- Salt (fine salt packs smaller than coarse)
- Dried chives or parsley
- Curry powder (for rice and noodles)
- Cumin (for beans and rice)
- Paprika (adds color and mild flavor)
- Oregano or Italian seasoning
- Soy sauce powder or liquid soy sauce in a small bottle
Lemon powder or dried lemon juice is essential: it brightens every dish, weighs almost nothing, and transforms plain risotto into something special.
Olive oil is worth carrying in a small bottle. Use it to finish dishes or cook aromatics. The weight is justified by how much it improves food.
Butter is heavier than oil but creates flavors oil can't. Pack a small stick wrapped in foil, it lasts several days without refrigeration in cool weather and is essential for risotto and grits.
Transfer spices to small bags or containers. One teaspoon of garlic powder weighs almost nothing and flavors multiple meals. Lightweight spice packing is the difference between flavorful and bland meals.
Lightweight Ingredients and Calorie-Dense Foods
Every ingredient must earn its weight. Choose foods that provide maximum calories relative to weight.
Fats are your most efficient calories, packing roughly twice the calories per ounce as carbs or protein (Food and Nutrition Information Center (FNIC)).
Nuts and nut butters are ideal.
Dried fruits are lighter than fresh and provide quick energy. Apricots, raisins, and dates are excellent, calorie-dense snacks.
Cheese is surprisingly efficient. Swiss cheese and cheddar are denser than softer varieties. Parmesan is extremely lightweight and adds flavor to everything.
Canned proteins are essential. Tuna, chicken, and salmon come in lightweight cans or pouches, require no cooking, and provide essential protein.
Instant rice and pasta cook quickly and provide carbs. Arborio rice is worth the slight weight penalty for risotto.
Dried vegetables are lighter than fresh. Dried mushrooms, onions, and peppers rehydrate quickly and add flavor.
Crackers and tortillas are better than bread: they're less dense and don't spoil as quickly.
Instant oats are your breakfast staple: they cook in 5 minutes, provide sustained energy, and weigh almost nothing.
Food Safety and Storage on the Trail
Food safety matters on the trail. Spoiled food causes illness far from help.
Store food in the shade away from direct sunlight.
Canned goods last indefinitely if undented. Discard any cans with dents or swelling.
Dried goods like rice, pasta, and oats last for weeks in sealed bags. Keep them in waterproof containers to prevent moisture.
Butter and cheese last several days without refrigeration in cool weather. Eat them early in hot weather trips.
Nuts and nut butters last indefinitely. They're your safest high-calorie option.
Never leave food unattended at camp. Store it in bear canisters if required.
Cook only what you'll eat. Leftover food attracts animals and spoils quickly.
Wash your hands before cooking. Use clean water. Bring hand sanitizer as backup.
Boil water if you're unsure about the source. Water from streams and lakes can contain parasites.
Gourmet backpacking meals transform how you experience the trail. Good food provides energy, lifts morale, and creates memories.
GreatAdventureSupply carries everything you need to cook well on the trail. For a complete system, our Bio Stove Cooking Kit ($45.00) includes a stove, pot, and essentials in a lightweight package.

Frequently Asked Questions
How do you make gourmet backpacking meals taste better?
The key is packing quality spices and seasonings, garlic powder, black pepper, dried herbs, and salt transform simple ingredients into restaurant-quality dishes. Use high-fat ingredients like olive oil, butter, and cheese to build flavor depth. Fresh additions like lemon powder or dried mushrooms add complexity without weight. Cook slowly when possible; rushing over high heat produces flat-tasting food. One-pot backpacking meals benefit from layering flavors: sauté aromatics first, add spices to bloom them in fat, then build your dish.
What are the best lightweight ingredients for gourmet backpacking recipes?
Calorie-dense foods pack maximum nutrition in minimal weight. Choose tuna and chicken packets (shelf-stable protein), salami and Swiss cheese (fat and salt), instant rice and grits (quick carbs), dried mushrooms and onions (umami), olive oil (calories and flavor), and nuts. Instant pasta and ramen provide a base for creative meals. Dehydrated meals rehydrate quickly, but building your own from quality ingredients produces better flavor. Pack spices in small containers and use olive oil packets to add richness without carrying heavy bottles.
How do you plan backpacking meal planning for a three-day trip?
Start by calculating daily calorie needs, most backpackers burn 4,000-5,500 calories per day depending on terrain and pack weight. Plan breakfast, lunch, and dinner plus snacks. Day one can include heavier fresh items (cheese, salami); subsequent days rely on dehydrated and shelf-stable ingredients. Batch similar meals (e.g., two pasta-based dinners, two breakfast grits) to reduce ingredient variety and pack weight. Write out a menu with specific recipes and ingredient quantities, then test one meal at home. Account for fuel weight and cooking time; simpler meals leave more time to explore.
Can you really cook fresh food while backpacking, or is it all instant meals?
You can cook genuinely fresh-tasting meals by mixing shelf-stable and dehydrated ingredients strategically. Tuna packets, salami, and Swiss cheese provide fresh-like protein and fat. Dried mushrooms, onions, and garlic rehydrate into flavorful components. One-pot cooking methods, risotto, curry, ramen, combine these elements into cohesive dishes that taste far better than plain instant meals. The trade-off is prep time and fuel consumption. For gourmet backpacking meals, invest in a reliable stove like the Gas Backpacking Stove ($12) and quality cookware; proper equipment makes the difference between mediocre and memorable meals.