 listicle
Winter Camping Tips for Beginners: Stay Warm & Safe
Table of Contents
- Winter Camping Gear Checklist: What You Actually Need
- How to Stay Warm in a Tent in Winter
- Cold Weather Camping Food Ideas and Hydration
- Set Up Camp Before Dark and Plan Around Daylight Hours
- Avoid Hypothermia and Frostbite: Safety Basics for Winter Camping
- Budget-Friendly DIY Winter Camping Hacks
- Post-Trip Gear Care and Winter Leave No Trace
- Conclusion: Your First Winter Camping Trip Starts With Preparation
- Frequently Asked Questions
Last Updated: October 3, 2026
Winter Camping Gear Checklist: What You Actually Need
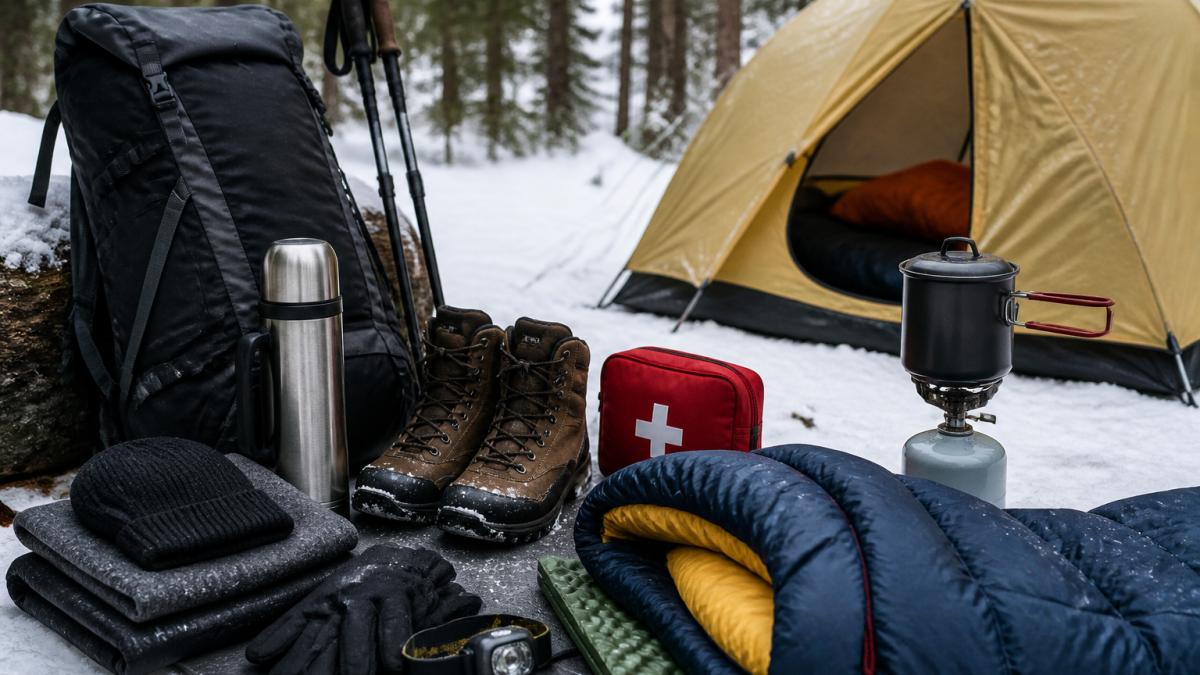
Winter camping tips for beginners usually start with a gear list, and that's the right instinct. But most lists are too long, you need only the core items that keep you warm, dry, and safe through a cold night.
At GreatAdventureSupply, first-timers ask the same question: what's essential versus what can wait?
Sleep System Essentials
Your sleep system is the most important investment, with three parts working together.
- Sleeping bag: Look for a comfort rating below the coldest temperature you expect, not the "survival" or "extreme" rating. A down bag rated -25°C to -30°C gives a beginner real margin.
- Sleeping pad: This is where beginners fail. A high R-value blocks cold seeping up through the ground, and a built-in pillow keeps your head off the cold floor.
- Emergency bivy: A reflective Mylar bivy sack costs little and adds serious warmth in a pinch. Keep one in your pack as a backup layer.
A good example is the Kamperbox Winter Sleeping Bag, filled with 800FP duck down and rated for -25°C to -30°C.

Safety and Navigation Gear
Safety gear is non-negotiable: a headlamp or lantern with fresh batteries, a paper map and compass, and a charged phone in a warm inner pocket.
Bring a fire starter that works in wet conditions, plus a water filter if you'll be melting or drawing from natural sources. The Fenix CL26R PRO lantern runs 408 hours and doubles as a power bank.
How to Stay Warm in a Tent in Winter
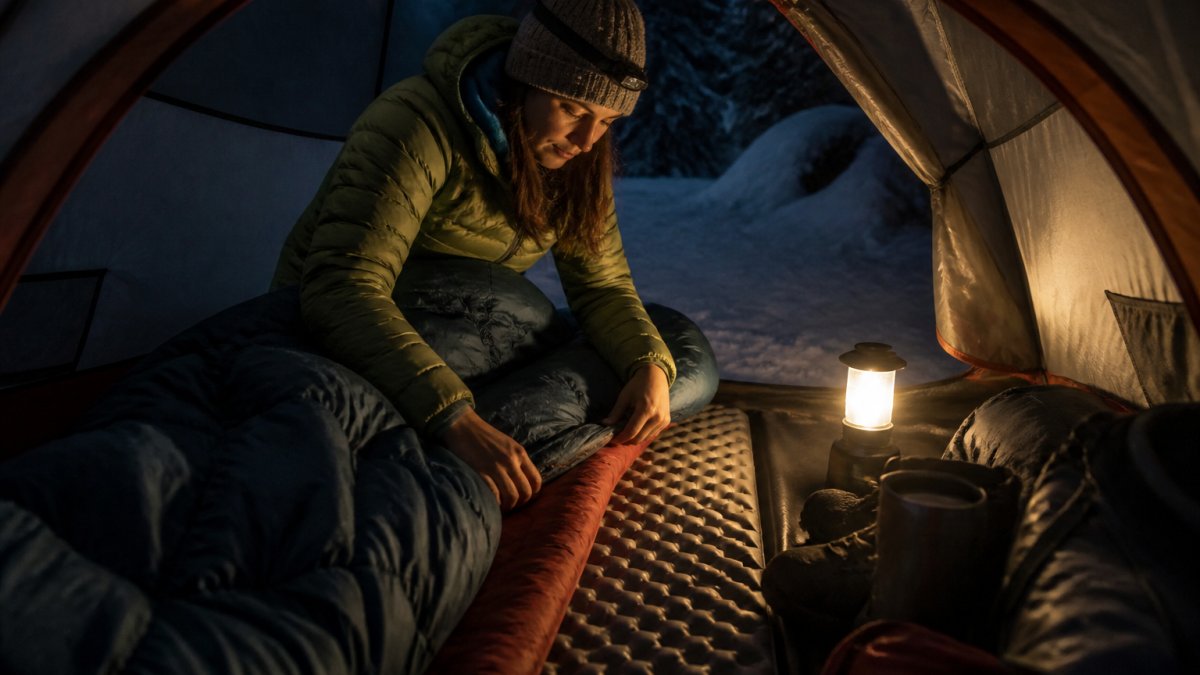
Staying warm in a tent comes down to two things: trapping body heat and keeping moisture off your skin. Get both right and a winter night feels manageable.
Layering Clothing and Managing Moisture
Layering is a system, not a single jacket: a base layer in merino wool or synthetic that wicks sweat, a mid layer for insulation, then a shell to block wind and snow.
Cotton is the enemy here. It holds moisture against your body and stops insulating once damp.
A waterproof hooded jacket like this men's insulated winter jacket handles the shell role well. Change out of any sweaty base layer before bed.

Insulating From the Ground and Ventilation
The ground steals heat faster than the air, so your ground pad matters as much as your bag. A closed-cell foam pad under an inflatable pad is a cheap combo that works.
Ventilation matters too. A tent with mesh panels, like this 2-person rainproof tent, lets moisture escape so condensation doesn't soak your bag.
Cold Weather Camping Food Ideas and Hydration
Cold-weather nutrition is not just "eat hot food." Your body burns roughly 10 to 20 percent more calories in cold conditions, and beginners who eat a normal summer dinner often wake at 3 a.m. shivering, not because their bag failed, but because they ran out of fuel.
Calorie Density and Meal Timing
Aim for calories per ounce of pack weight. Fats carry about 9 calories per gram versus 4 for carbs and protein, so nuts, nut butters, cheese, olive oil, and dark chocolate are efficient staples. Target 3,000 to 4,000 calories per person per day, in smaller, more frequent doses than in summer.
- Breakfast: Oatmeal with nuts, dried fruit, and peanut butter, quick, calorie-dense, and easy to digest before a cold hike.
- Lunch: Tortillas with cheese, salami, and a hard-boiled egg. These stay edible when frozen, unlike many sandwich fillings.
- Dinner: Instant noodles, dehydrated soups, or a rice-and-bean pouch with added oil. A tablespoon of olive oil in any hot meal pushes calories up without much weight.
| Meal | Best For | Prep Time |
|---|---|---|
| Oatmeal + nuts + peanut butter | Quick morning fuel | 5 min |
| Tortilla + cheese + salami | No-cook lunch | 0 min |
| Instant noodles + olive oil | Hot, filling dinner | 5 min |
| Soup + bread | Warming lunch | 8 min |
| Tea or cocoa | Hydration + warmth | 3 min |
Stove and Fuel Trade-Offs
Cold changes how stoves behave. A stove with a heat-collector ring, like the Integrated Heat Collection Stove System, captures waste heat and cuts cooking time and fuel use, a real advantage when melting snow.
Melting snow is fuel-hungry. Turning a pot of snow into drinking water can take 10 to 15 minutes and a surprising amount of gas, so plan your fuel budget around water production, not just meals.
Hydration Mechanics in the Cold
You sweat less visibly in winter, but you still lose fluid through respiration and perspiration, and cold air is dry. Dehydration thickens your blood and makes it harder to circulate warmth to your extremities, hydration is a warmth strategy, not just comfort.
- Start hydrated. Drink before you leave the trailhead and keep sipping all day.
- Keep water liquid. Insulated wide-mouth bottles resist freezing better than bladders. If you use a bladder, blow the water back out of the tube after each drink so it does not freeze solid.
- Sleep with your water. Tuck your bottle into the foot of your sleeping bag. A frozen bottle in the morning is a common and avoidable beginner mistake.
The Mental Side of Cold-Weather Eating
Appetite often drops in the cold, especially for beginners who feel nauseous from exertion or altitude. That is a trap. Eat every 60 to 90 minutes on the move rather than waiting to feel hungry, treat food and water as gear you deploy on a timer, not a craving.

Set Up Camp Before Dark and Plan Around Daylight Hours
Arriving before dark isn't just convenient; it's safer. Pitching a tent in failing light leads to mistakes, and mistakes in cold weather get dangerous fast.
Plan your daylight hours carefully.
A portable lantern with a hook or magnetic top makes setup and cooking in the dark far easier if you do run late.
Kamperbox Winter Sleeping Bags Camping Down Sleeping Bags Winter Outdoor →
Avoid Hypothermia and Frostbite: Safety Basics for Winter Camping
Cold injuries rarely announce themselves, they creep in while you are busy setting up camp or enjoying the view. Beginners need to understand the mechanisms and decision points, not just the symptoms.
How Hypothermia Actually Develops
Hypothermia is a drop in core body temperature below about 95°F (the CDC). It develops in stages, and the stages tell you what to do.
- Mild (core ~90-95°F): Persistent shivering, cold hands, clumsiness, and difficulty with fine tasks like zipping a jacket. The person is still thinking clearly.
- Moderate (core ~82-90°F): Shivering may become violent or stop, speech slurs, movements become uncoordinated, and judgment falters. This is where beginners get into real trouble because the person may insist they are fine.
- Severe (core below ~82°F): Shivering stops, the person becomes drowsy or unconscious, and pulse and breathing slow. This is a medical emergency.
A common pattern in winter camping is the "umbles", stumbles, mumbles, fumbles, and grumbles. If a companion shows these, treat it as a hypothermia signal, not a personality quirk.
How Frostbite Develops
Frostbite occurs when skin and underlying tissue freeze, most often on fingers, toes, ears, nose, and cheeks, the parts with the least insulation and most exposure.
- Frostnip: The surface skin turns pale or red and feels numb or prickly. This is reversible by warming the area with skin-to-skin contact or warm (not hot) water.
- Superficial frostbite: The skin feels waxy or firm but the tissue beneath is still soft. Rewarming is painful and the area may blister.
- Deep frostbite: The tissue feels hard and wooden, and sensation is lost. This requires professional medical care, do not rub the area, and do not rewarm it if it could refreeze, because refreezing causes far more damage.
Field Rewarming Protocol
The field goal is to stop heat loss and add heat slowly.
- Get out of the wind and wet. Move the person into a tent, snow shelter, or behind a windbreak.
- Remove wet clothing. Wet layers pull heat away far faster than dry ones.
- Insulate from the ground. Put a foam pad or pack under the person. Ground conduction is the fastest way to lose heat.
- Add dry layers and a sleeping bag. Get the person into a dry bag, ideally with another person for shared warmth.
- Apply warm, not hot, heat. Warm water bottles wrapped in a sock against the armpits, groin, and neck, where major blood vessels run close to the skin, are effective. Direct heat can burn numb skin.
- Give warm, sweet fluids if the person is alert and able to swallow. Never give alcohol; it dilates blood vessels and accelerates heat loss.
When to Evacuate
Recognizing the signs is only half the job, knowing when to call it is the other. Evacuate if:
- Shivering cannot be controlled with added layers and warmth.
- The person is confused, drowsy, or has slurred speech.
- Frostbite has turned tissue hard or waxy.
According to the CDC's guidance on cold weather safety, recognizing early warning signs and getting warm quickly is the most important step in preventing serious cold injuries.
The Psychological Trap
Cold impairs judgment before it impairs the body. Beginners often ignore early symptoms to avoid seeming weak or because they are focused on a task. Check in with yourself and companions every hour: Are hands and feet warm? Is anyone shivering or unusually quiet? Naming the check-in out loud makes it normal, and keeps a manageable chill from becoming an emergency.
Budget-Friendly DIY Winter Camping Hacks
You don't need expensive gear to stay warm. A few simple hacks stretch your budget a long way.
- Hot water bottle: Fill a sturdy bottle with hot water, seal it, and tuck it into your sleeping bag before bed.
- Newspaper insulation: Line your sleeping pad with newspaper for extra ground insulation.
- Emergency blanket: A cheap reflective blanket under your pad reflects heat back up.
The Emergency Survival Sleeping Bag is a low-cost Mylar bivy that works as a bag, blanket, or poncho.
Post-Trip Gear Care and Winter Leave No Trace
How you treat your gear after the trip decides how long it lasts. Dry everything completely before storing it.
For winter-specific Leave No Trace, remember snow and ice are fragile. Pack out all waste, including food scraps, avoid trampling sensitive areas, camp on durable surfaces, and keep fires small and contained.
A fire starter that works in wet conditions helps you build a safe, minimal fire without struggling.
Conclusion: Your First Winter Camping Trip Starts With Preparation
Winter camping rewards preparation and punishes guesswork. Get your sleep system, layers, and safety gear right, and the cold becomes manageable rather than miserable.
GreatAdventureSupply curates reliable gear for exactly this kind of trip, from insulated sleeping bags and pads to waterproof jackets, boots, and camp stoves, chosen for performance in real conditions, so you can focus on the adventure instead of the equipment.
Frequently Asked Questions
What gear do I need for my first winter camping trip?
Start with a winter-rated sleeping bag, an insulated sleeping pad, a four-season or sturdy three-season tent, and layered clothing. Add a warm hat, gloves, wool socks, a camp stove, and a fire starter. Bring a headlamp or lantern, a water purifier, and an emergency bivy sack. A winter camping gear checklist helps you pack systematically so you don't forget critical items like extra dry layers or a repair kit for frozen gear.
How cold is too cold to camp in a tent?
There is no single cutoff, but most beginners should avoid temperatures below -18°C (0°F) until they have experience. Your sleeping bag rating, pad R-value, and clothing layers determine how cold you can safely sleep. Check your bag's comfort rating, not just the extreme rating, and test your setup on a cold night close to home before committing to a remote winter camping trip.
How do you prevent condensation in a tent during winter?
Ventilation is the key. Open a vent or crack the door slightly even when it is cold, and avoid breathing directly into your sleeping bag. Choose a tent with mesh panels or adjustable vents. Wipe down interior walls before they freeze, and store wet gear in dry bags outside the sleeping area. A vapor barrier liner can also reduce moisture inside your bag.
What are common mistakes to avoid when winter camping?
The biggest mistakes are setting up camp after dark, wearing cotton base layers, and skipping ground insulation. Cotton holds sweat and loses insulation when wet. Many beginners also forget to hydrate because they do not feel thirsty in the cold. Other errors include not testing gear at home, ignoring weather forecasts, and leaving food or water bottles exposed to freezing temperatures overnight.
How do you keep your feet warm while winter camping?
Wear merino wool or synthetic socks, not cotton. Change into dry socks before bed. Put a hot water bottle at the foot of your sleeping bag, and use a sleeping pad with a high R-value to block cold from the ground. Loosen boot laces during breaks to improve circulation. If your feet get cold, do not put them against your body; instead, add insulation under and around them.
Your first winter trip doesn't have to be intimidating. With the right layers, a warm sleep system, and a plan built around short daylight hours, you'll stay safe and comfortable. Get started with GreatAdventureSupply and gear up for a winter camping trip you'll actually enjoy.