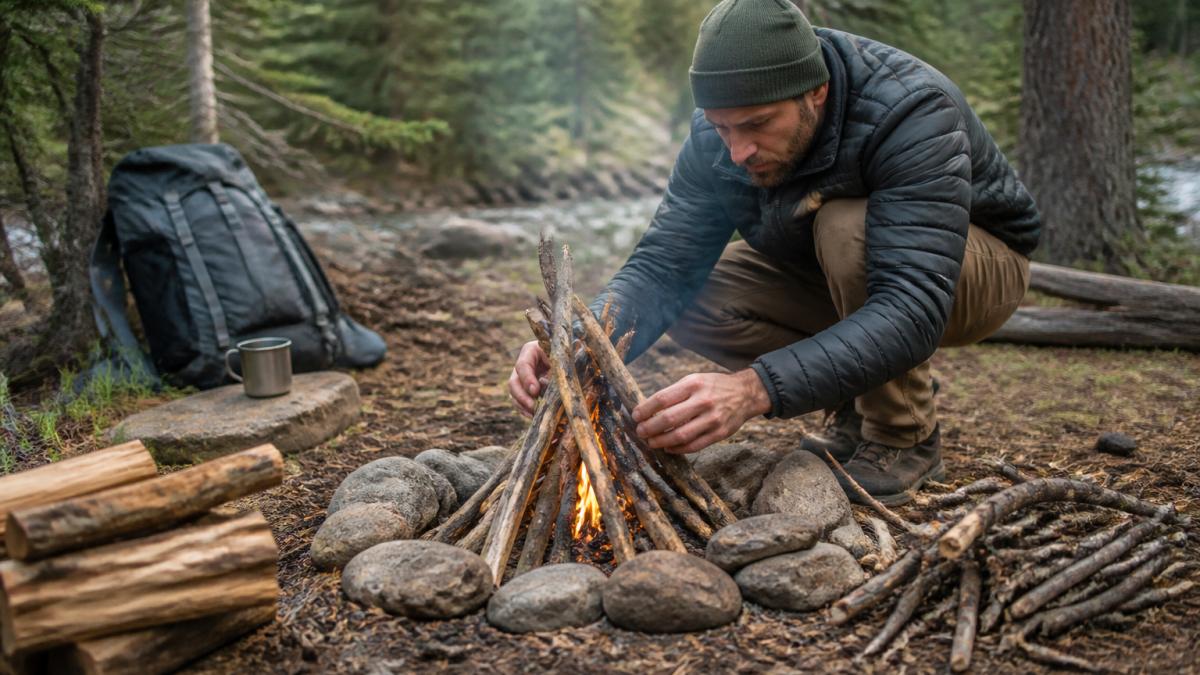
 how-to
How to Build a Campfire Safely: 7 Steps That Work
Table of Contents
- How to Build a Campfire Safely: The 7-Step Method
- Step 1: Check Fire Rules, Bans, and Permits First
- Step 2: Choose a Safe Location and Mark Off Your Zone
- Step 3: Clear Flammable Material and Check Overhead Clearance
- Step 4: Gather Tinder, Kindling, and Local Firewood
- Step 5: How to Build a Campfire in a Fire Pit or Fire Ring
- Step 6: Lighting, Supervision, and High-Risk Conditions
- How to Put Out a Campfire and Verify It's Cold
- Frequently Asked Questions
Last Updated: October 4, 2026
How to Build a Campfire Safely: The 7-Step Method
Learning how to build a campfire safely is the difference between a great night outside and a story you never want to tell. The good news: safe campfires follow a simple, repeatable process.
This guide walks through seven steps, from checking rules before you leave home to dousing the last ember. Each step takes minutes. Skipping one can cost you far more.
What You'll Need Before You Start
Gather these before you strike a match:
- A fire starter that works in wet or windy weather
- Tinder: dry grass, birch bark, or paper
- Kindling: twigs and small sticks, pencil-thick or thinner
A reliable fire starter matters more than people think. Damp matches and dead lighters ruin more campfires than bad wood ever will.

Step 1: Check Fire Rules, Bans, and Permits First
Fire rules change constantly, and they vary by park, county, and season. A burn ban that was lifted last week can be reinstated the morning you arrive. Treat rule-checking as a pre-trip task, not a parking-lot afterthought.
Your Pre-Trip Rule Check
Run through this before you leave home, then repeat it the morning you plan to burn:
- Identify the land manager. National parks, national forests, state parks, county parks, and private campgrounds each set their own rules. A fire allowed in one may be banned in the next valley over.
- Check the agency's current fire restriction page. Most land managers post active bans, closures, and permit requirements online and update them during fire season.
- Call the local ranger station or campground office. Ask two questions: "Are open fires allowed today?" and "Is a permit required?" Phone confirmation catches changes that websites lag on.
- Check the state forestry or emergency management fire page. Statewide burn bans often override local rules during drought.
- Check the next day's forecast. Red flag warnings, high wind advisories, and low humidity forecasts can trigger same-day restrictions.
What to Look For
- Burn bans: Often triggered by drought, low humidity, or high winds. Bans may prohibit all open flames, or only uncontained fires.
- Permit requirements: Some sites require a free or paid fire permit, sometimes with a short online quiz. Others require a California-style campfire permit even for portable stoves.
- Designated fire areas only: Many parks allow fires only in installed rings or raised fire pans. Bringing your own pit may not qualify.
A burn ban isn't a suggestion. Lighting a fire during one can bring fines and, worse, start a wildfire. If fires are banned, use a camp stove instead.
If You Can't Confirm the Rules
If you can't reach anyone and the agency's site is unclear, don't burn. A cold dinner beats a citation or a wildfire investigation. Portable propane stoves and enclosed camp stoves are almost always allowed when open fires are not, but confirm that too, some bans cover all open flames, including stove fuel.
Find current fire restrictions for your area
Permits: What They Actually Require
Where permits are required, they typically ask you to:
- Acknowledge current restrictions
- Agree to clear a defined radius around the fire
- Keep a shovel and water on site
Some agencies issue permits online in minutes. Others require an in-person stop at a ranger station. Build that stop into your trip plan so you're not setting up camp after dark without one.
Step 2: Choose a Safe Location and Mark Off Your Zone
Pick a spot at least 15 feet from tents, shrubs, and anything that can catch. Look for bare mineral soil, sand, or gravel. Avoid roots, overhanging branches, and dry grass.
Now mark your safety zone. Use rocks, a shovel line, or gear to outline a circle roughly 10 feet across around your fire pit. This gives you a visual boundary for kids, pets, and gear.
Measuring Your Safety Zone in Practice
Pace it out. An adult step is about 3 feet, so five steps from your fire's center gets you close to 15 feet. Walk the circle and clear it. If you can't keep 15 feet of clearance, move to a different spot.
Step 3: Clear Flammable Material and Check Overhead Clearance
Clear everything burnable from your zone. That means dead grass, twigs, leaves, pine needles, and paper. Scrape down to bare soil inside your fire area.
Then look up. You want at least 10 feet of vertical clearance above the flames. Low-hanging branches, especially pine and cedar, can ignite from rising heat. A camp shovel makes quick work of scraping and clearing ground cover.

Step 4: Gather Tinder, Kindling, and Local Firewood
Good fuel is dry, dead, and sized right. Build your fire in stages:
- Tinder: dry grass, bark, or paper, catches a spark fast
- Kindling: twigs and sticks up to pencil thickness
- Fuel: larger logs, split so they're dry inside
Gather three times more tinder and kindling than you think you need. Beginners always underestimate this.
Buy firewood where you burn it, or use wood already at the site. Moving firewood long distances spreads invasive pests that kill forests. Many parks post rules on this, and rangers enforce them.
Step 5: How to Build a Campfire in a Fire Pit or Fire Ring
Use an existing fire ring whenever one exists. It's already sited, cleared, and contained. If you must build your own, dig a shallow pit and ring it with rocks, keeping the pit small, about 2 feet across.
Here's the sequence:
- Place a small pile of tinder in the center.
- Arrange kindling around it in your chosen fire lay.
- Add a few larger sticks, leaving gaps for airflow.
- Light the tinder from the base, not the top.
- Add fuel gradually as the flames catch.
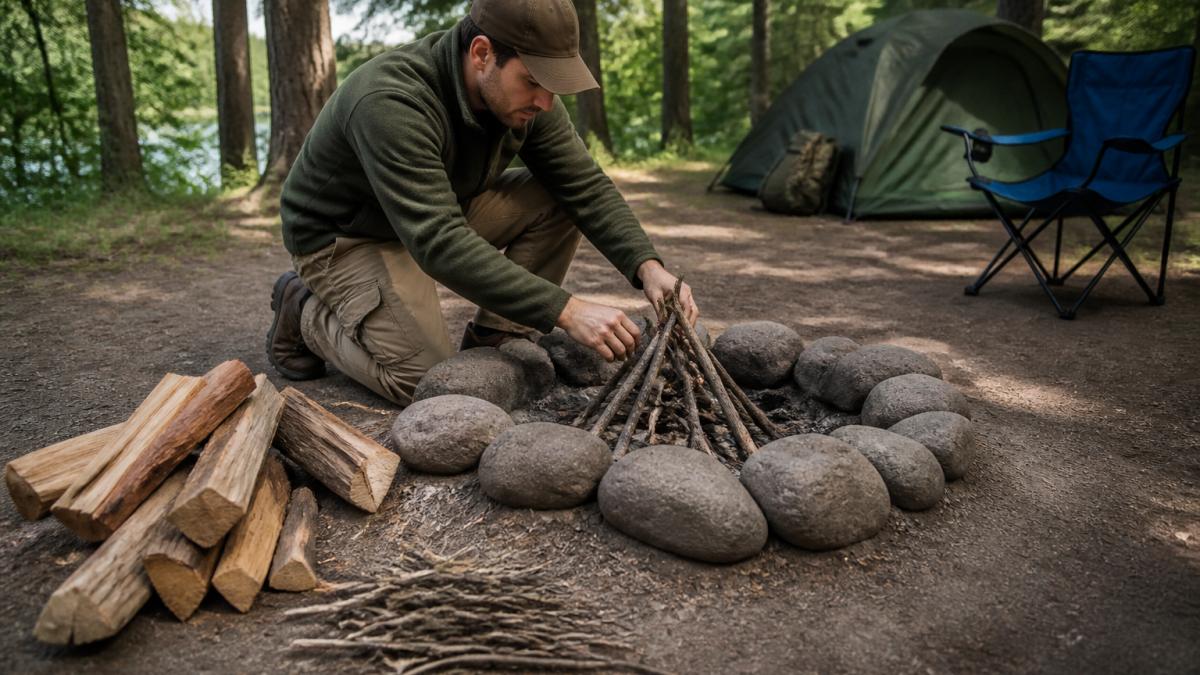
Airflow is everything. A fire that smothers itself smokes hard and dies fast. Keep gaps between sticks so oxygen reaches the base.
Fire Lay Options: Teepee, Lean-To, and Log Cabin
Each fire lay suits a different situation:
| Fire Lay | Best For | How to Build |
|---|---|---|
| Teepee | Quick light, small cooking fires | Lean kindling against a center point |
| Lean-To | Windy sites, steady flames | Push a stick into the ground, lean fuel against it |
| Log Cabin | Longer burns, bigger fires | Stack logs in a square, crisscrossed |
The teepee lights fastest. The log cabin burns longest. Match the lay to your goal.
Step 6: Lighting, Supervision, and High-Risk Conditions
Light the tinder and stay with it. Never leave a fire unattended, not for a nap, not for a bathroom break. Wind can turn a small flame into a spreading grass fire in minutes.
Go / No-Go Conditions
Before you strike a match, run this quick check. If any item lands in the no-go column, skip the fire.
| Condition | Go | No-Go |
|---|---|---|
| Sustained wind | Under 10 mph | 15 mph or higher, or gusts above 20 mph |
| Gusts | Occasional, light | Steady gusts that move embers past your cleared zone |
| Relative humidity | Above 30% | Below 20%, or falling fast |
| Recent rain | Fuel damp, ground moist | Weeks dry, grass crunches underfoot |
| Official status | No ban, permit in hand | Any active burn ban or red flag warning |
| Overhead | 10+ feet clear | Branches within 10 feet of flame height |
A red flag warning from the National Weather Service means critical fire weather is occurring or imminent. No campfire is worth a wildfire. Use a camp stove instead.
Supervision Rules That Actually Work
- Assign one adult as fire watcher at all times. Rotate the role out loud so it's never assumed.
- Keep kids and pets outside the marked zone. A 10-foot visual boundary (rocks, gear, a shovel line) works better than a verbal warning.
- Never use gasoline, lighter fluid, or accelerants on a campfire. They flash, they travel, and they burn people standing nearby.
Smoke, Sensitivity, and No-Fire Alternatives
Campfire smoke is a real health issue for people with asthma, COPD, allergies, or young children. If anyone in your group is smoke-sensitive:
- Sit upwind of the fire, not downwind
- Keep the fire small and dry, wet or green wood smokes heavily
- Consider a propane fire pit or enclosed stove, which produce far less smoke and are often allowed during partial bans
- Skip the fire entirely on still, humid evenings when smoke hangs at ground level
A camp stove, lantern, or layered clothing solves the same problem a campfire does, warmth and light, without the smoke, the embers, or the wildfire risk.
If Conditions Turn
Weather shifts fast. If wind rises, humidity drops, or you smell smoke from a direction you can't identify, treat it as a signal to shut down. Douse the fire fully, stir the ashes, and verify cold before you walk away. A fire you put out early is a fire that can't escape.
How to Put Out a Campfire and Verify It's Cold
Douse the fire with water, stir the ashes, and douse again. Repeat until you hear no hissing. Then check with the back of your hand near, but not touching, the ashes.
Follow this checklist every time:
- Pour water over the entire fire area
- Stir ashes with a shovel to reach buried embers
- Add more water and stir again
- Feel for heat before you leave
Ashes can stay hot for hours under a thin crust. "Cold to the touch" is the only safe standard. If you can't douse it fully, don't leave the site.
Frequently Asked Questions
What is the most effective way to build a campfire?
Work in layers. Start with tinder such as dry grass, twigs, or paper, add small sticks no thicker than a pencil, then feed progressively larger logs once the flame catches. Arrange the fuel so air can move through it, since fire needs airflow as much as fuel. A teepee, lean-to, or log cabin fire lay all work, but build the fire in an existing fire ring or designated fire area on bare mineral soil, sand, or gravel, and keep the flames low while it establishes.
How far should a campfire be from a tent?
Keep a minimum of 15 feet between your fire and any tent, tarp, or sleeping bag, and check overhead for low-hanging branches with at least 10 feet of vertical clearance. Clear dead grass, twigs, and other combustibles from the area around the fire. If the site is cramped, move the tent rather than the fire. Wind can carry embers farther than people expect, so aim the fire so gusts push flames toward open ground, not toward your shelter.
How can you tell when a campfire is completely out?
Douse the fire with water, stir the ashes and embers with a shovel, then douse it again. Repeat until the site is cool to the touch, and hold your hand just above the ashes to confirm no heat remains. Only then should you leave. Embers can stay hot under ash for hours, so never walk away from a fire that is still warm, smoking, or producing steam. A camp shovel makes the stirring step far easier than using a stick.
Is breathing in campfire smoke harmful?
Smoke contains fine particles and gases that irritate the eyes, nose, and lungs, and people with asthma, heart conditions, or young children are more sensitive to it. Sit upwind of the fire so smoke blows away from you, keep the fire small, and burn only dry, local wood rather than trash or treated lumber. If smoke follows you no matter where you sit, shift your seating rather than tolerating it, and consider a camp stove when air quality is already poor.
Campfire safety comes down to preparation and attention. GreatAdventureSupply stocks the gear that makes both easier, from a compact fire starter that works in rain or wind to a foldable camp shovel for clearing ground and dousing embers. Our curated collections bring camping and survival essentials together in one place, so you pack once and pack right. Add to Cart and head out prepared.